A single crochet (sc) is a simple, basic stitch that is used often in crochet. The single crochet is a popular go-to stitch for beginners to start with when learning how to crochet. This tutorial provides instructions along with images to explain how to single crochet from a chain row and how to single crochet after a row of stitches. There are also two videos posted in this tutorial; a detailed video for beginners, and a quick tutorial for a refresher. Below are the step-by-step instructions on how to single crochet:
*Before proceeding with this tutorial, make sure you are familiar with making a slip knot and chaining. If not, check out the links listed under ‘Supplemental Tutorials‘.
Supplemental Tutorials:
Terms used:
- working yarn: the strand of yarn coming from the skein(ball)
- yarn over (yo): wrapping the yarn over the crochet hook
- turning chain: is used to begin a row/round of crochet by ‘lifting up’ the work. Each stitch requires its own number of chains to start off with, which is determined by the height of the stitch. Since the single crochet is a short stitch there is only a need to chain one.
Step-by-Step Instructions
Tutorial Sections
- How to Single Crochet (sc) from a Chain Row
- How to Single Crochet (sc) After a Row of Stitches
- Video Tutorials
1. How to Single Crochet (sc) from a Chain Row:
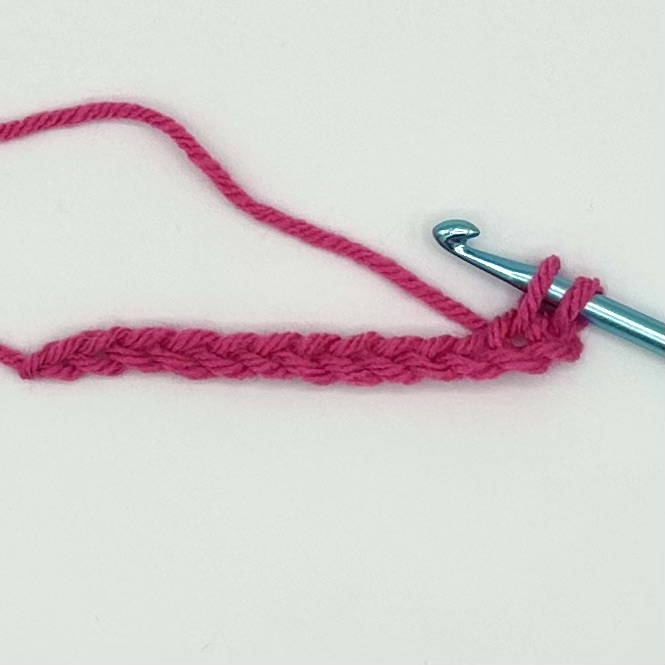
- Start with any number of chains + 1 (The + 1 chain will be a ‘turning chain’). *Example: Chain 12 and then add an extra chain. This will make a total of 13 chains. Even though there are 13 chains, there will only be 12 single crochets made because the first single crochet stitch will be placed into the second chain from the hook. The skipped chain (first chain from the hook) is the ‘turning chain’ for the first row of single crochet.
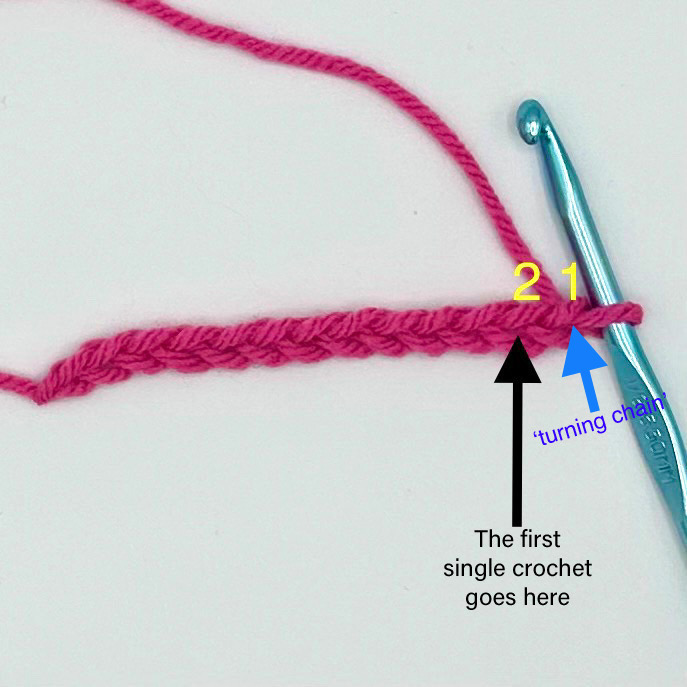
2. Insert the hook into the second chain from the hook.
3. Hook the working yarn.
4. Pull the working yarn through the chain. (Two loops will remain on the hook.)
5. Turn the hook away from you and hook the working yarn.

6. Yarn over.
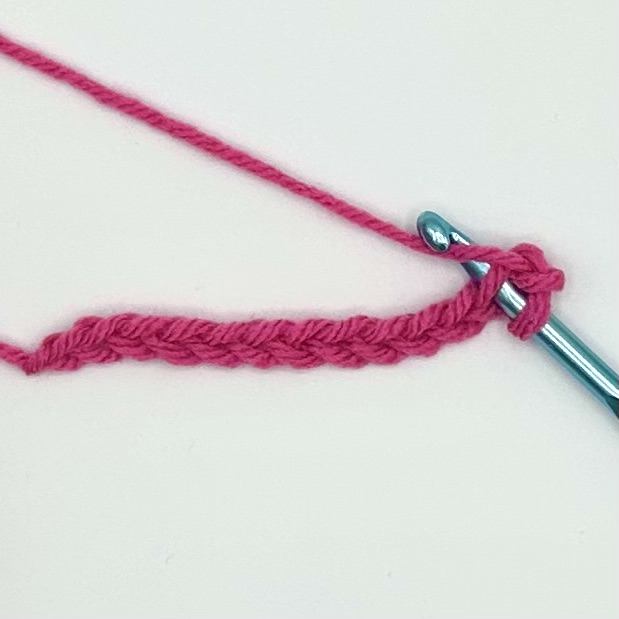
7. Pull the working yarn through both loops on the hook. (One loop will remain on the hook.)
First single crochet completed!


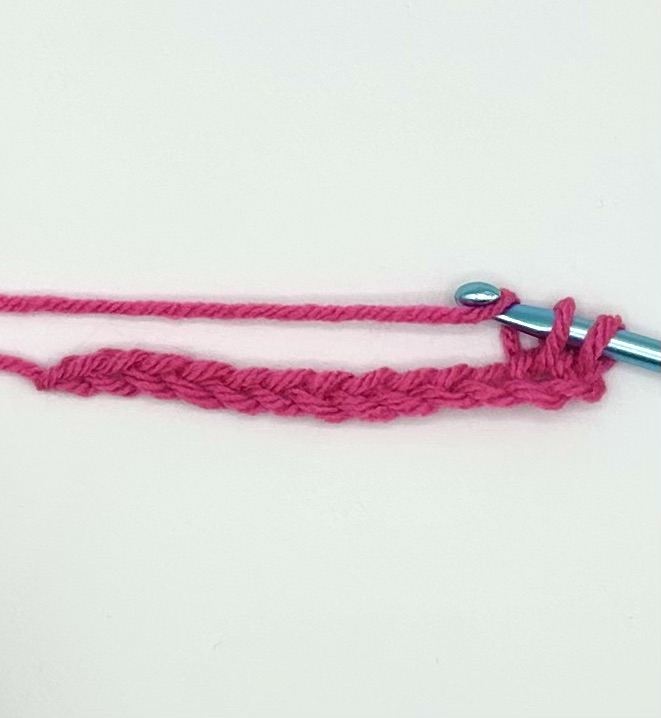
8. Insert the hook into the next chain to make another single crochet. (Refer back to steps 3-7 to make another single crochet)
9. Continue placing a single crochet into each chain across.
*The arrows point to each remaining chain where a single crochet will be placed. The numbers refer to the numbered single crochet (ex: numbers 1 and 2 note the first and second single crochet made. The third single crochet will be placed in the chain marked number 3, and so on)

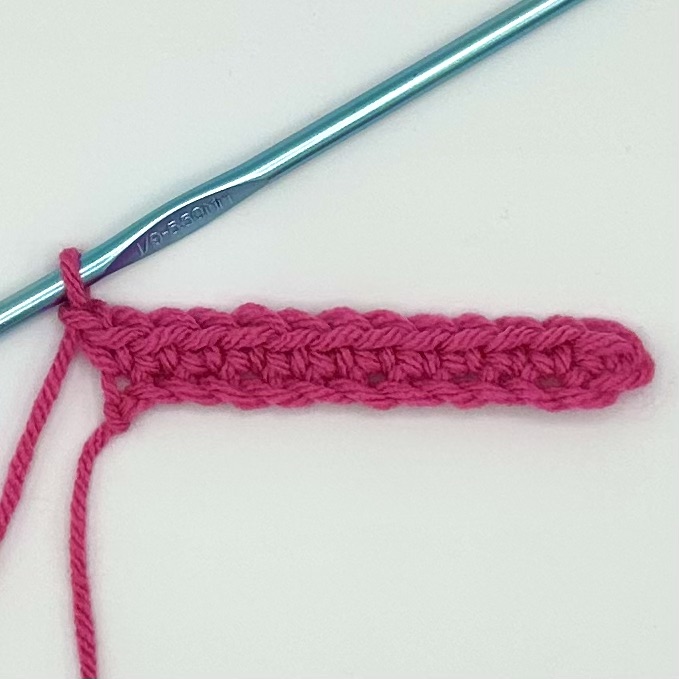
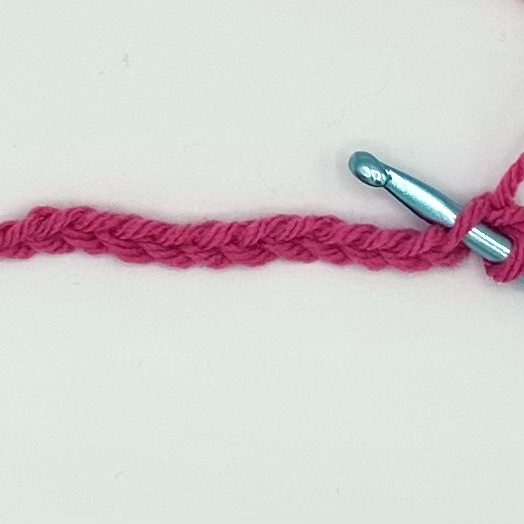
10. Chain one after the last single crochet of the row. (chain one is a ‘turning chain’)
11. Turn your work.
12. Proceed to section 2
2. Single Crochet After a Row of Stitches:
- The first single crochet will be placed into the first stitch of the row.

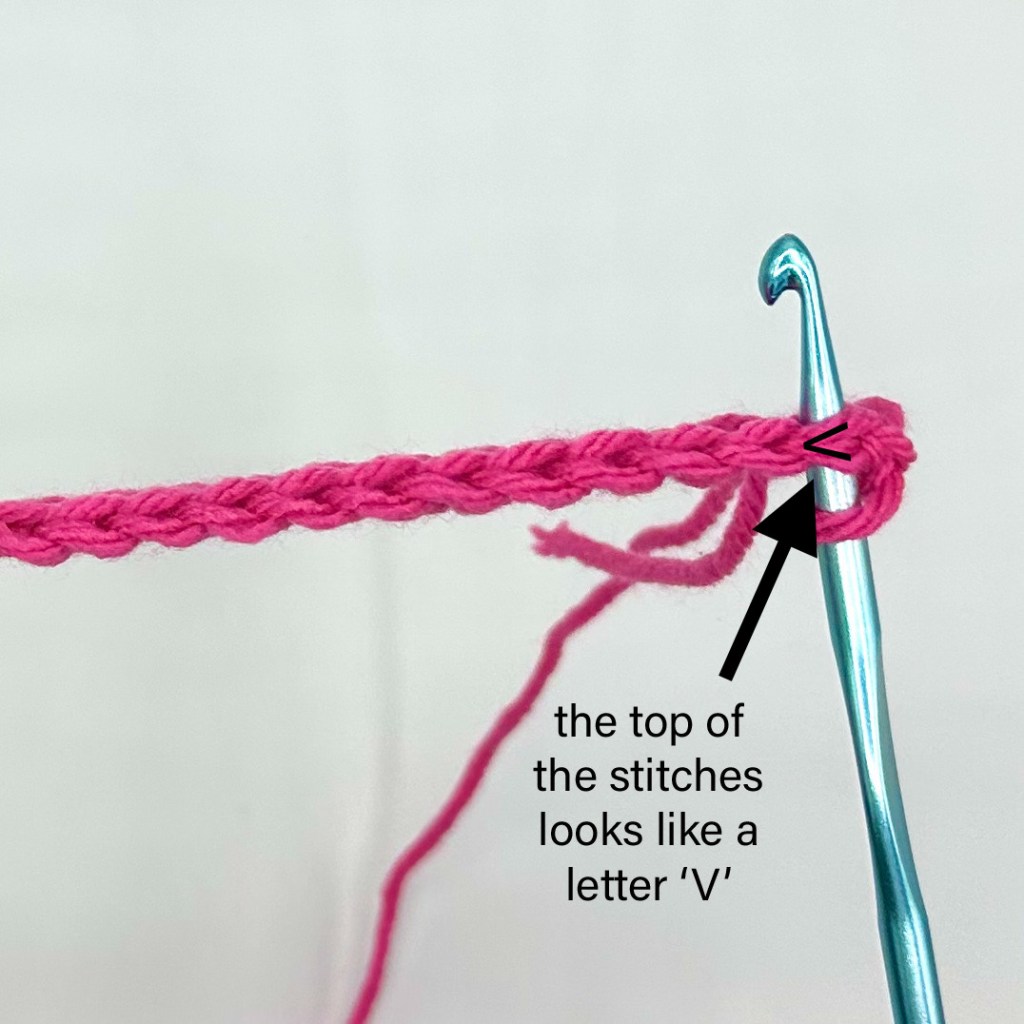
2. Insert the hook into the first stitch under both loops (the ‘V’).
3. Hook the working yarn.
4. Pull the working yarn through the stitch. (Two loops will remain on the hook)
5. Turn the hook away from you and hook the working yarn.


6. Yarn over.
7. Pull the working yarn through both loops on the hook. (One loop will remain on the hook.)
First single crochet completed!


8. Insert the hook into the next stitch to make another single crochet.
9. Continue placing a single crochet into each stitch across.
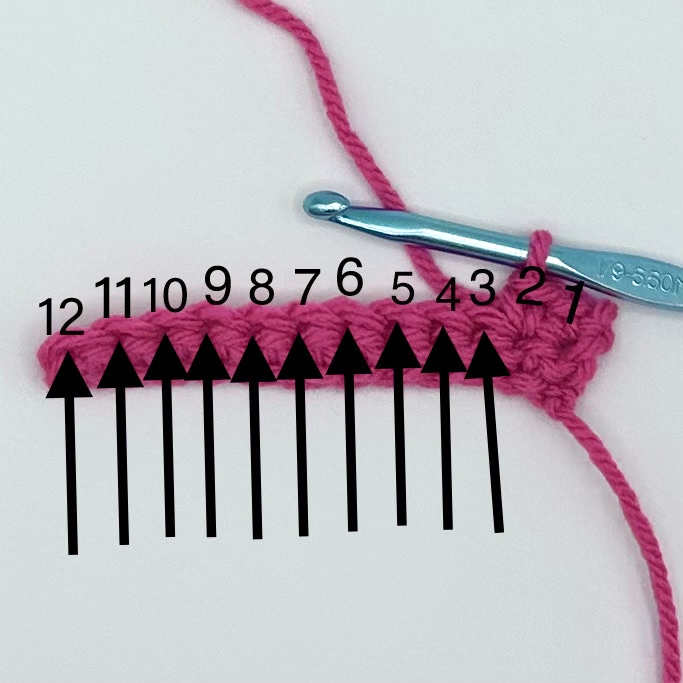
*The arrows point to each remaining stitch where a single crochet will be placed. The numbers refer to the numbered single crochet (ex: numbers 1 and 2 note the first and second single crochet made. The third single crochet will be placed into the stitch marked number 3, and so on.)
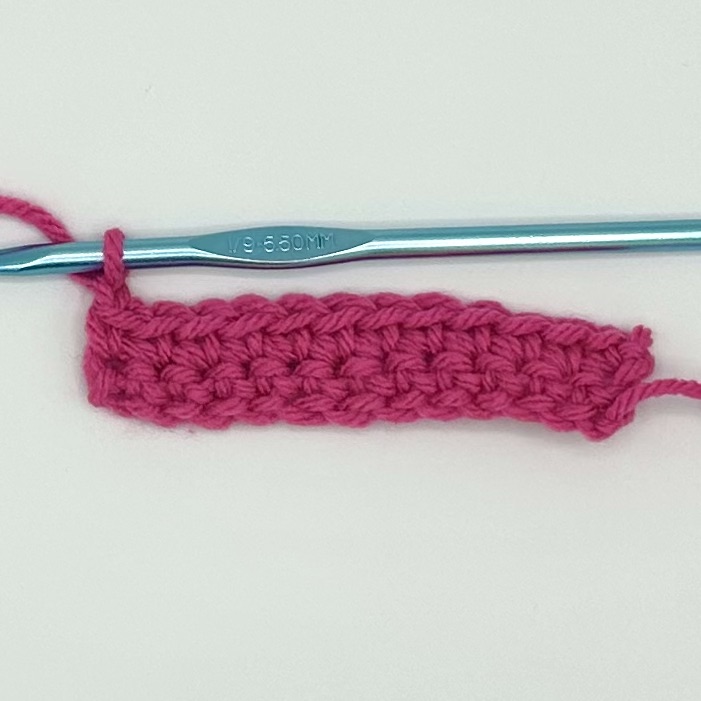
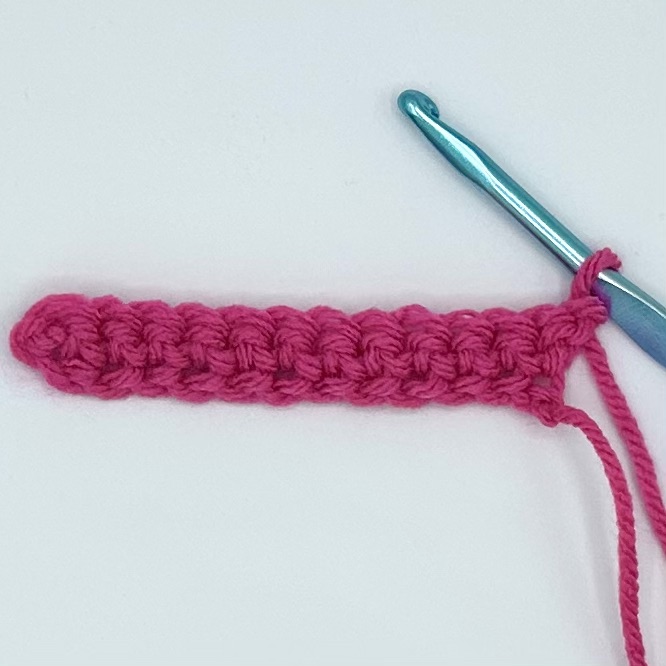
9. Chain one after the last single crochet stitch of the row. (chain one is a ‘turning chain’)
10. Turn your work.

11. Repeat the steps from section 2 until desired number of rows is reached.
3. Video Tutorials:
- Detailed Single Crochet Video Tutorial for Beginners:
2. Quick Single Crochet Video Tutorial:
