Working in-the-round simply means to crochet in a circular pattern instead of back and forth in rows. This technique is used to crochet things such as Amigurumi, the Japanese art form of crocheting and knitting stuffed dolls/animals. Working in-the-round is not limited to just crocheting amigurumi, but is used to make a wide array of things like hats, mandalas, doilies, placements, coasters, appliqués etc. This tutorial provides step-by-step instructions on three different methods of how to start working in the round, including the magic ring (circle).
Supplemental Tutorials:
- Beginner Crochet: How to Make a Slipknot
- Beginner Crochet: How to Crochet a Chain (ch)
- Beginner Crochet: How to Single Crochet (sc)
Terms Used:
- working yarn: the strand of yarn coming from the skein(ball)
Step-by-Step Instructions:
- The Chaining Method
- Stitches Into a Chain Stitch Method
- Magic Ring (Circle)
- Video Tutorial
*The stitch count in this tutorial is only used as a reference guide. The stitch count can be adjusted accordingly to the project that’s being worked on, meaning more or less stitches can be crocheted into the center ring.
1. The Chaining Method
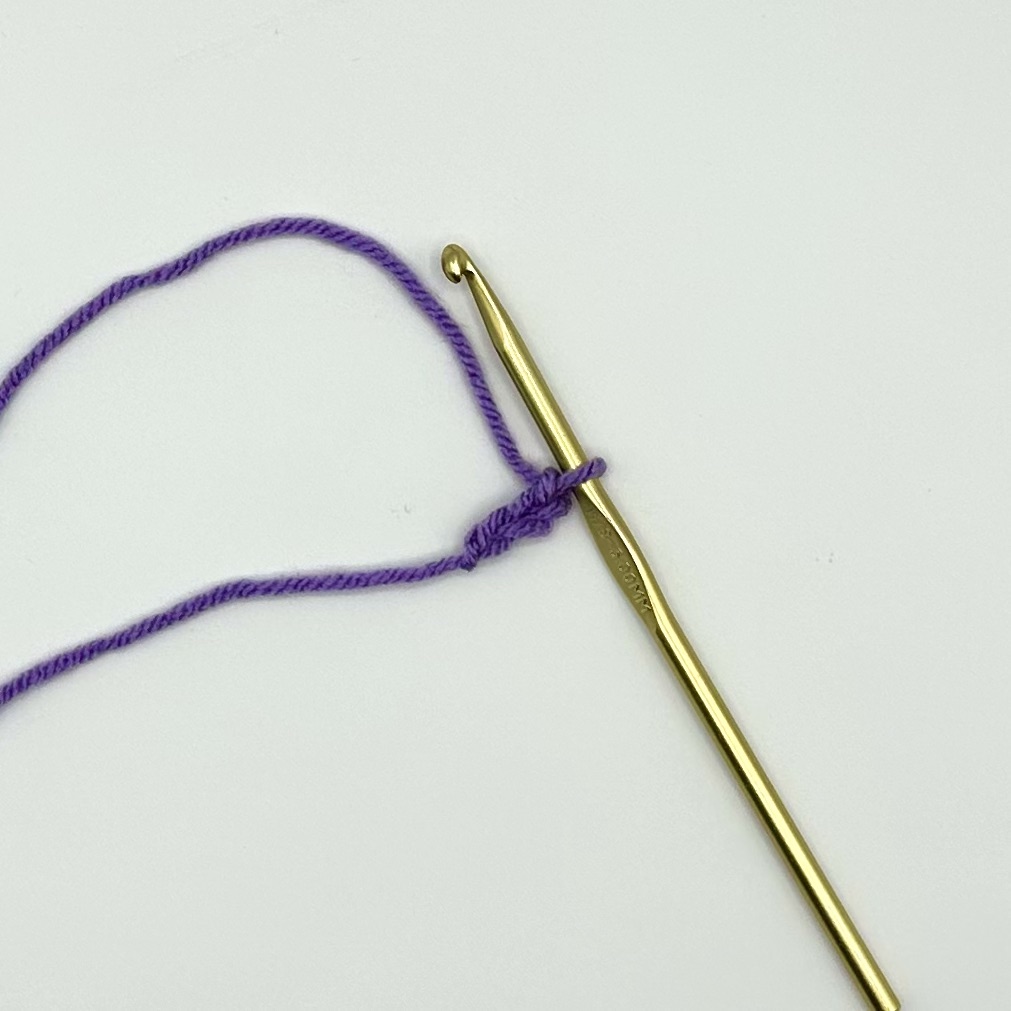
- Chain 3.
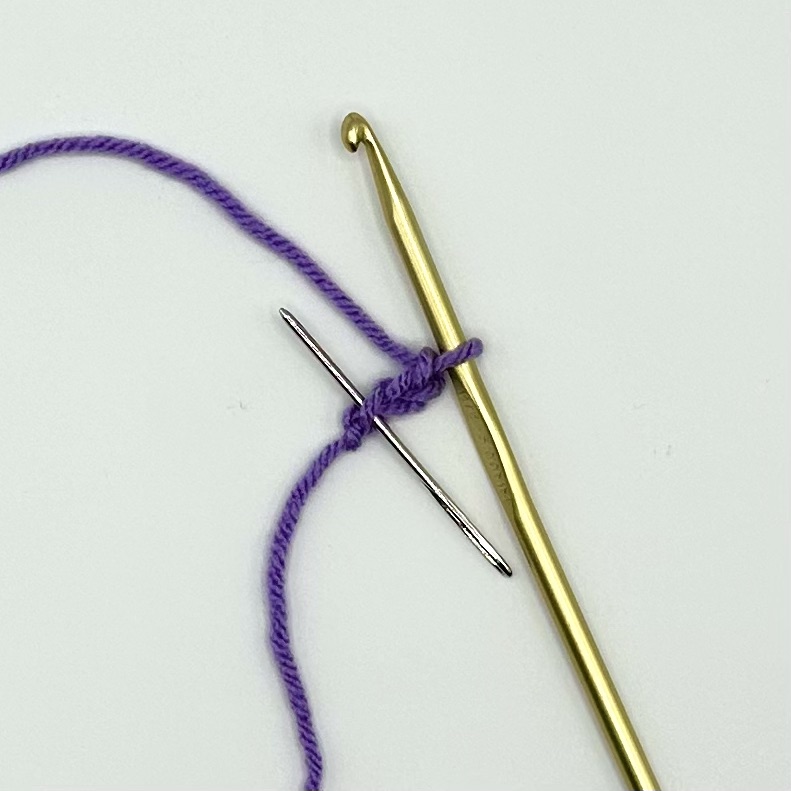
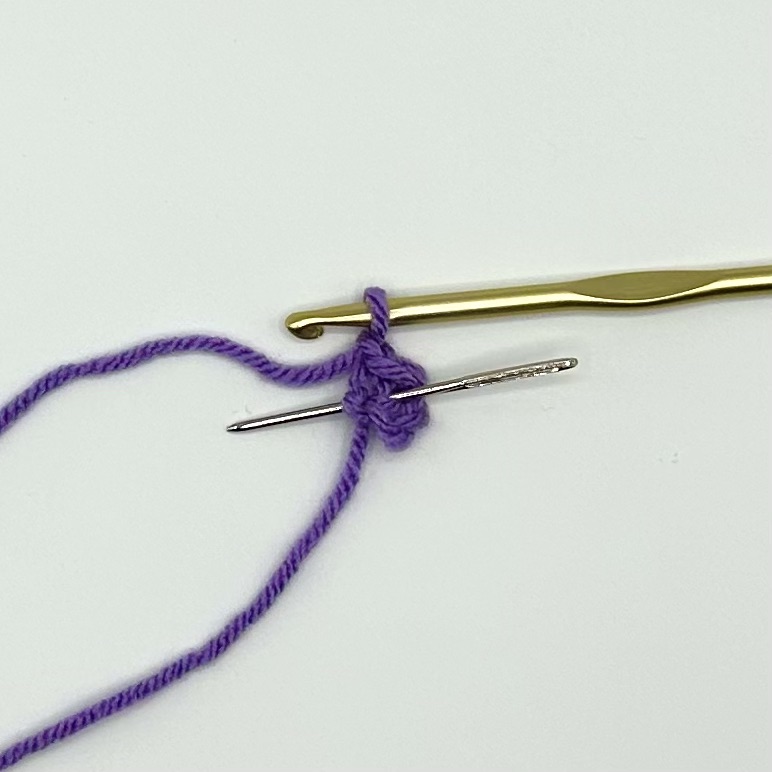
2. A slip stitch join will be placed into the first chain made to make a ring. (In the image, the needle marks this placement.)
3. Slip stitch into the first chain as referenced in step two.

4. Chain 1.
5. The stitches will be placed into the center of the ring created by the slip stitch join. (In the image, the needle marks this placement.)
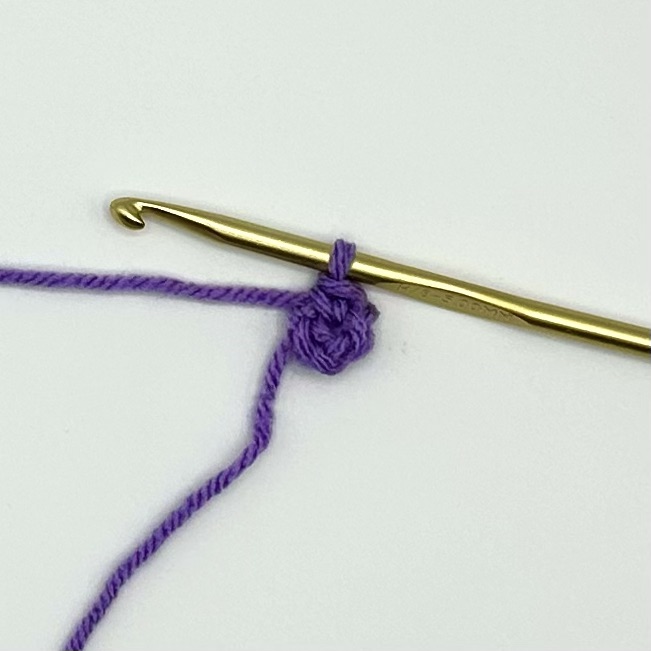
6. Single crochet into the center of the ring as referenced in step five.
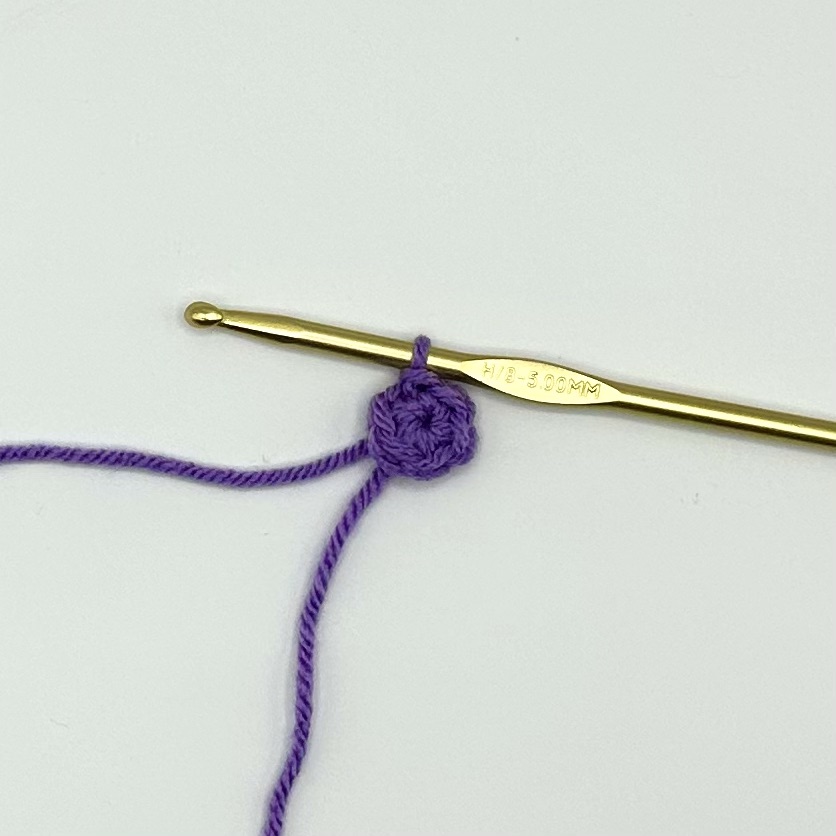
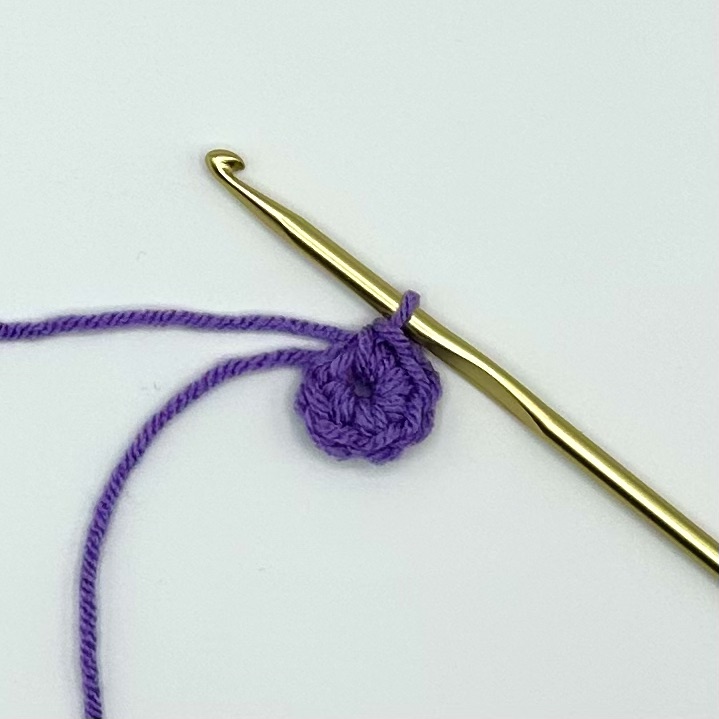
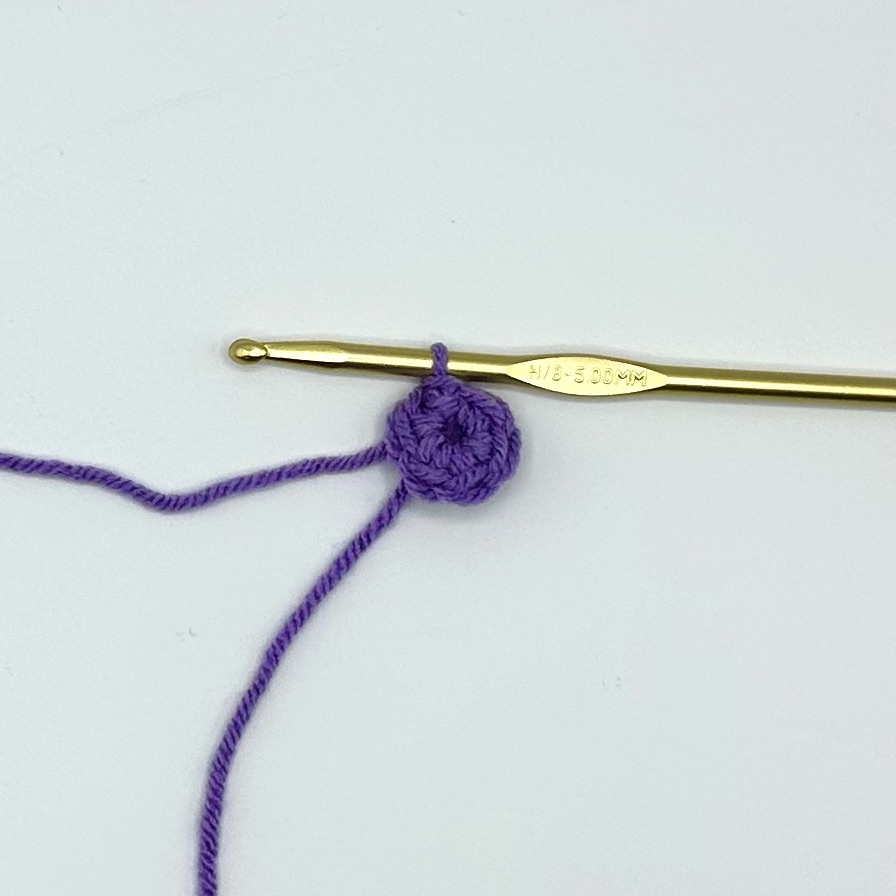
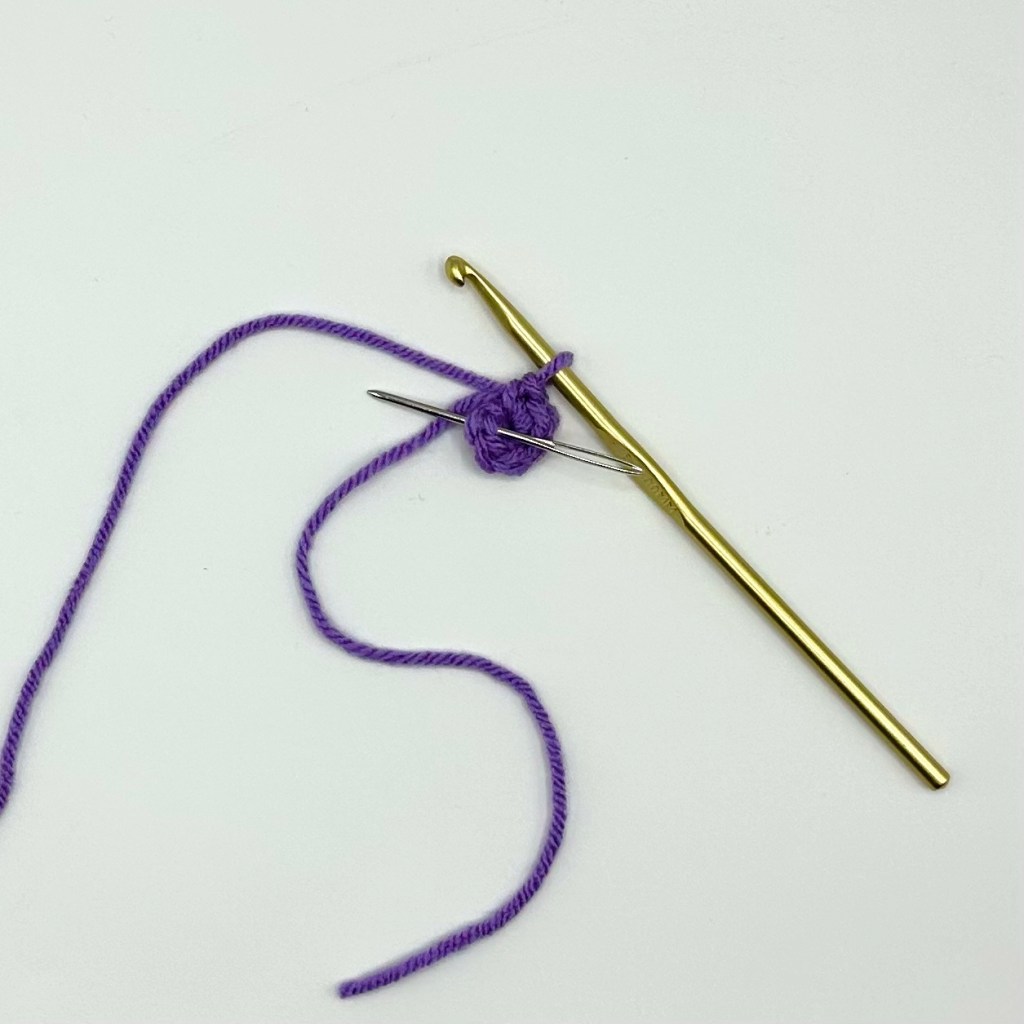
7. Place 5 more single crochets into the center of the ring for a total of six single crochets.
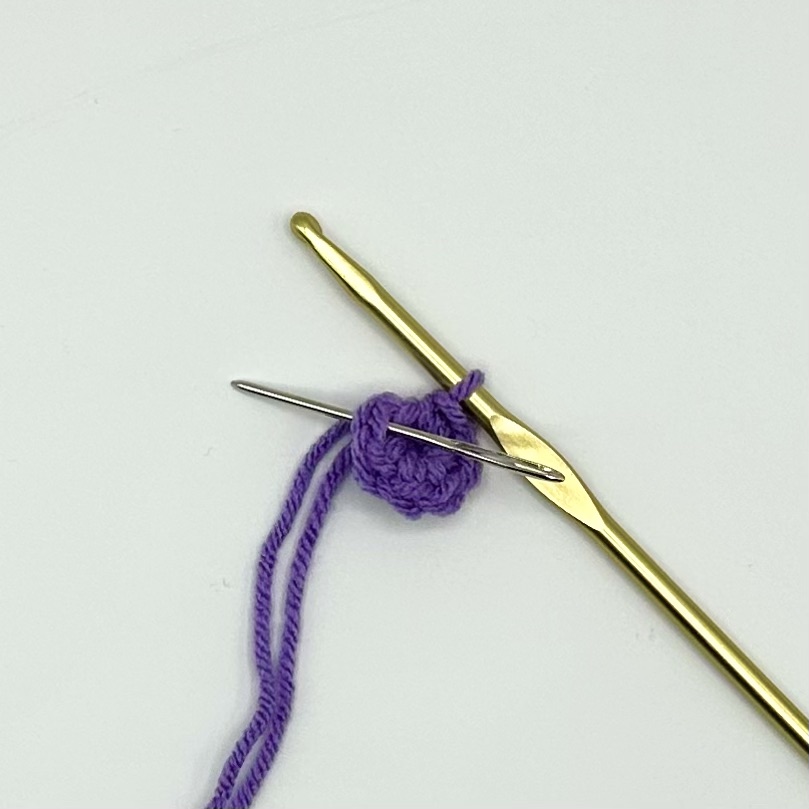
8. A slip stitch will be placed into the first stitch of the round to close off the circle. (In the image, the needle marks this placement.)
9. Slip stitch into the first single crochet of the round as referenced in step eight.
2. Stitches Into a Chain Stitch Method

- Chain 2.
2. The first stitch will be placed into the first chain made (second chain from the hook). (In the image, the needle marks this placement.)
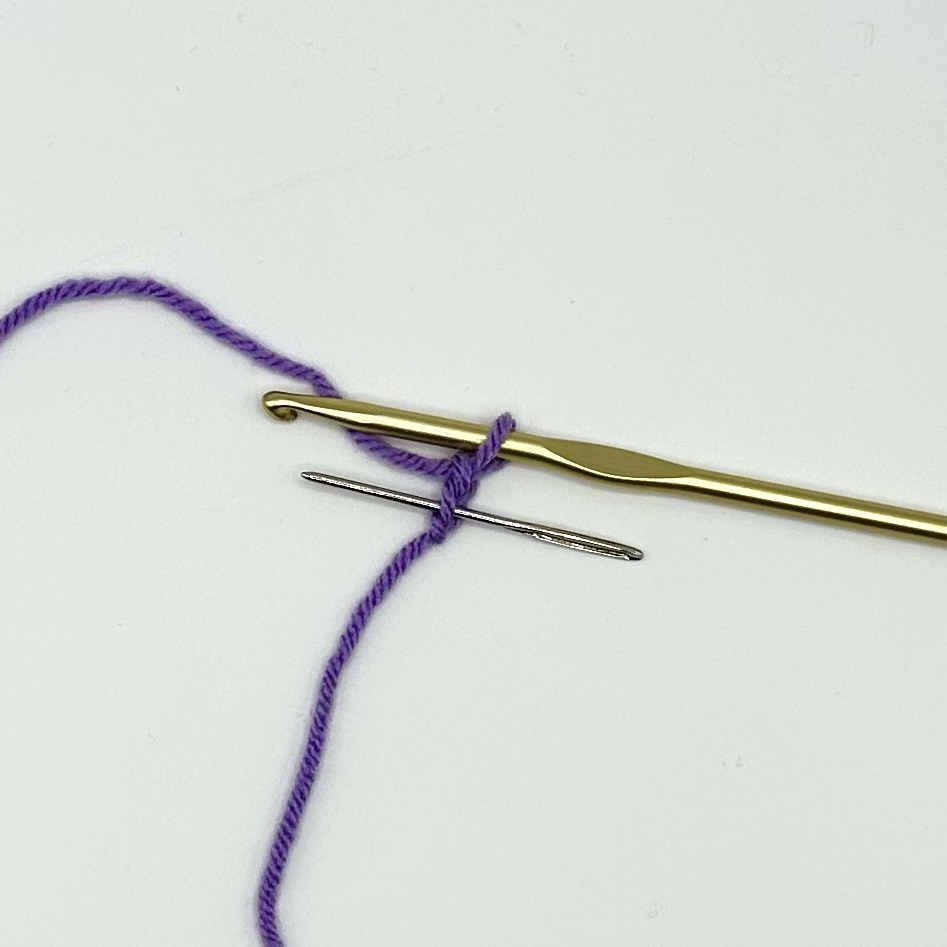

3. Single crochet into the first chain (second chain from the hook) as referenced in step two.
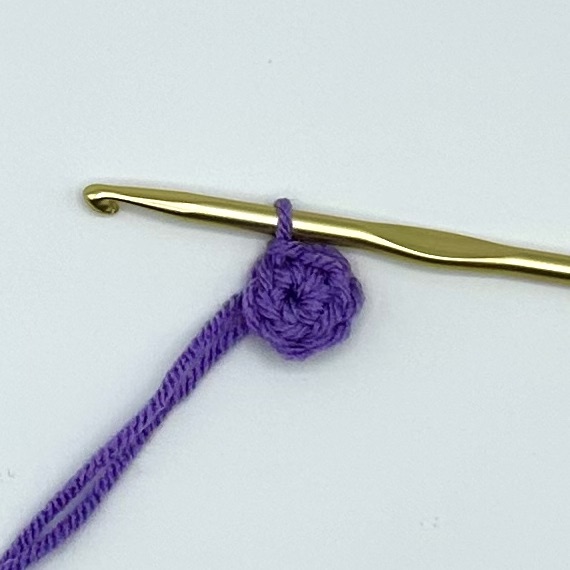
4. Place 5 more single crochets into that same chain for a total of six single crochets.


5. A slip stitch will be placed into the first stitch of the round to close off the circle. (In the image, the needle marks this placement.)
6. Slip stitch into the first single crochet to close the circle as referenced in step five.
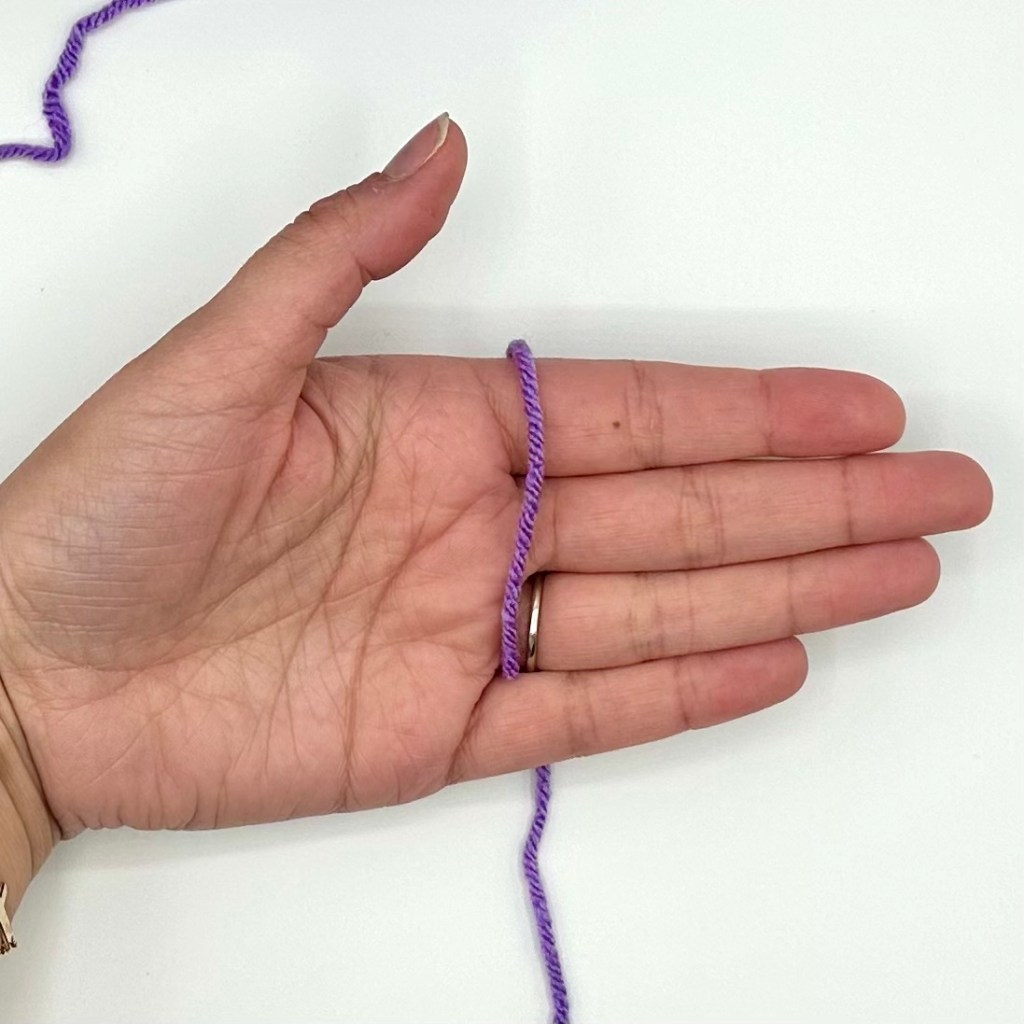
3. Magic Ring (Circle)
- With your hand palm-side up, lay the yarn across your hand with its end laying toward your pinky finger.
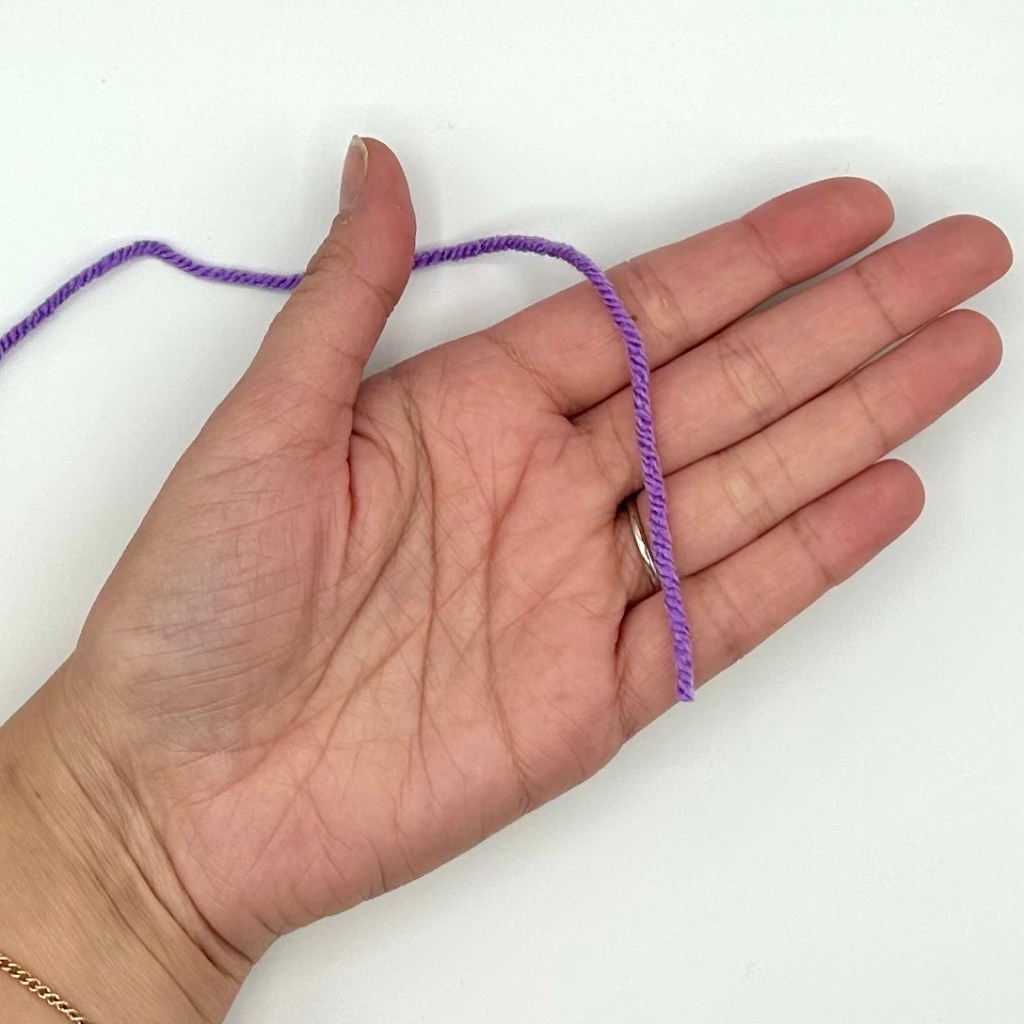
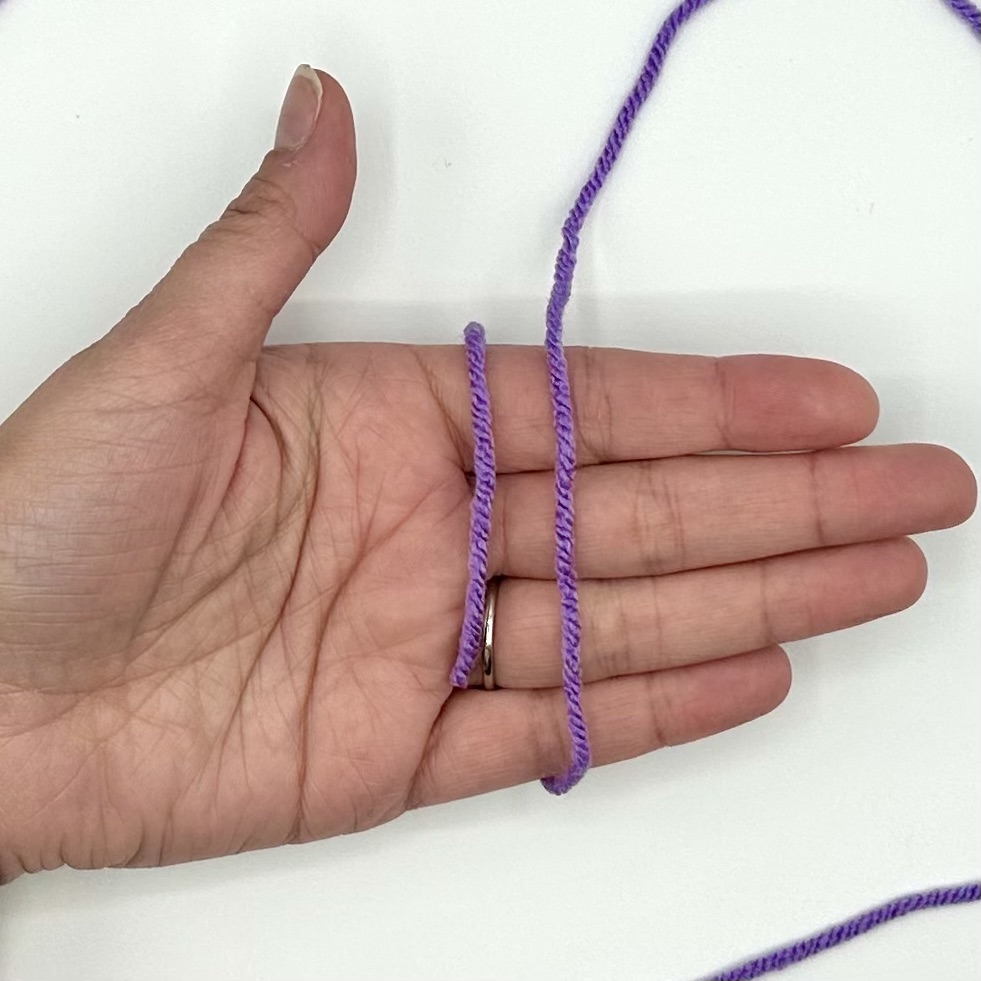
2. Bring the working yarn back and down the back side of your hand.
3. Bring the working yarn forward and up across the palm-side of your hand.
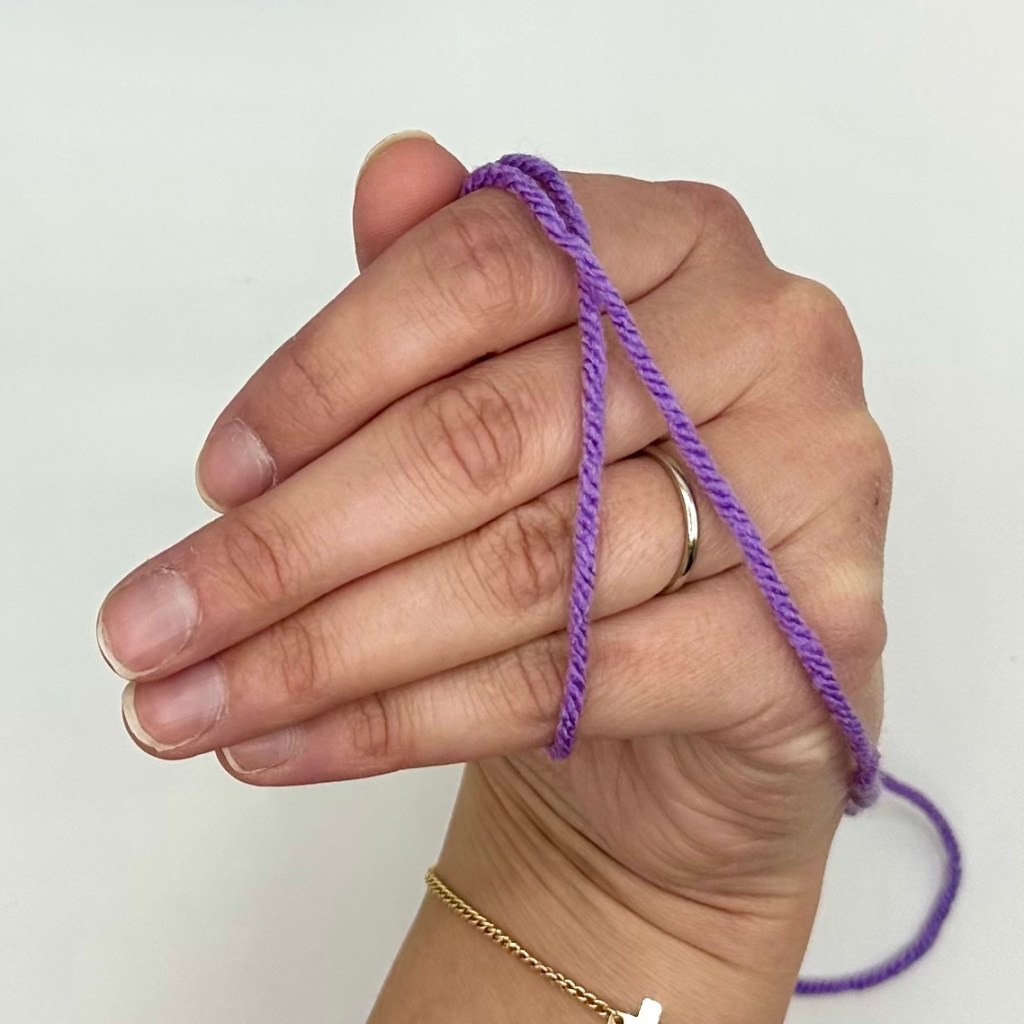
4. Bring the working yarn back and down the back side of your hand.
6. With the opposite hand, reach under the top yarn and pull the working yarn through just enough to make a loop.

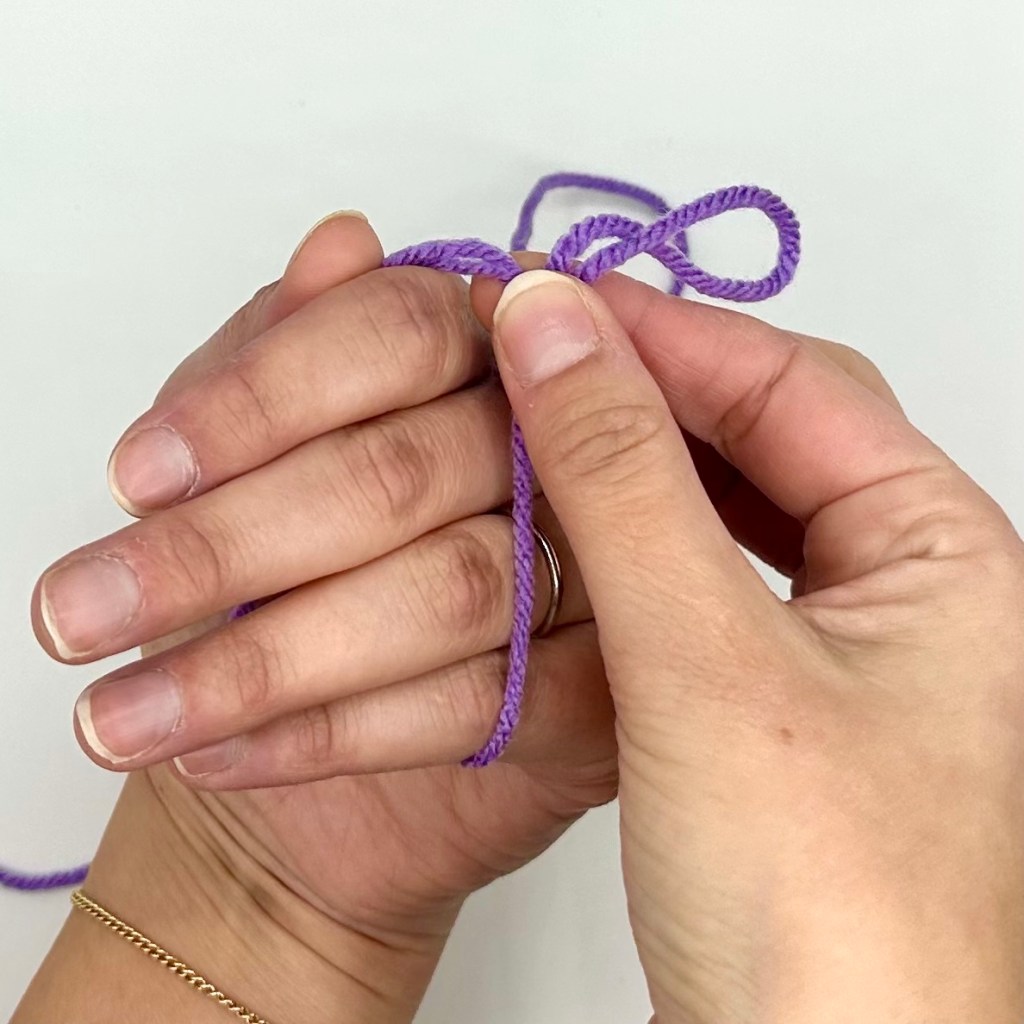
7. With the opposite hand pinch the base of the loop to anchor it while removing the other hand from inside the ring.
8. Continue pinching the base of the loop.


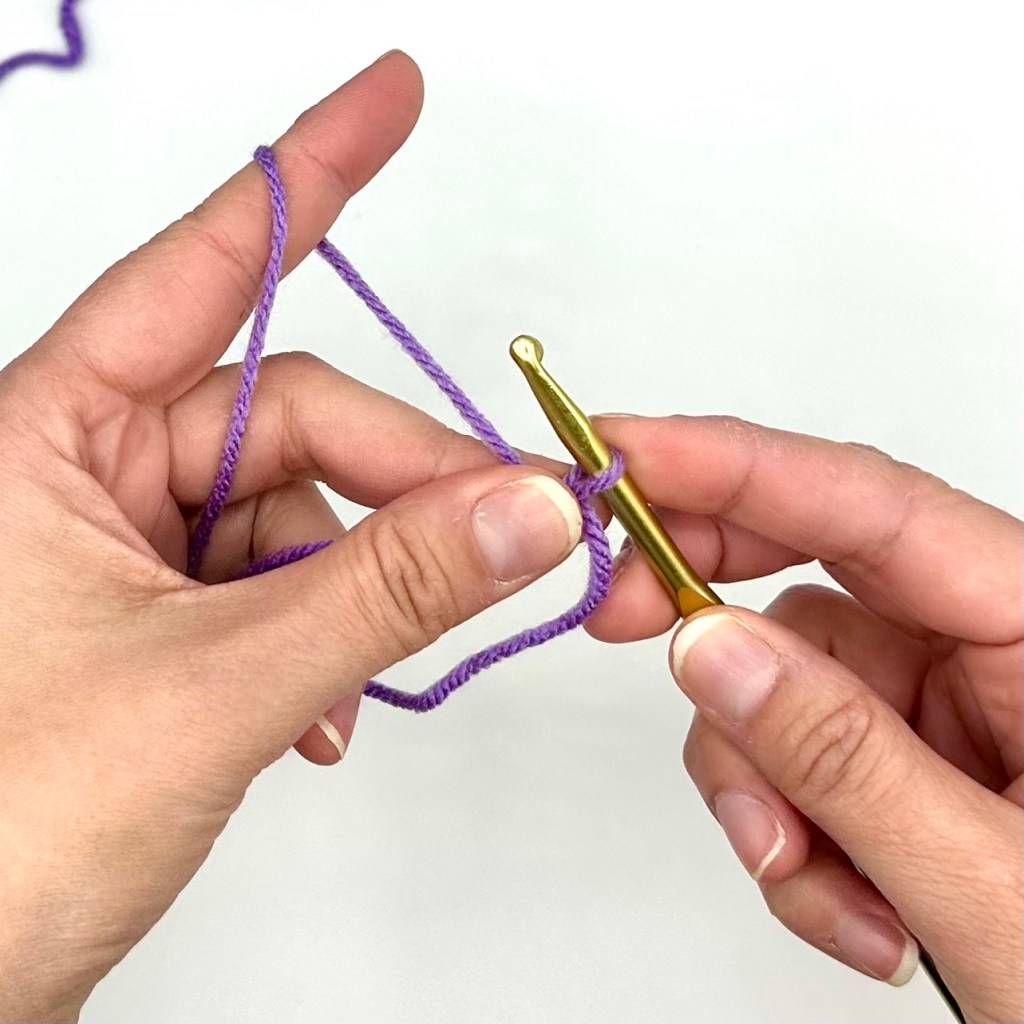
9. Insert a crochet hook into the loop. With the opposite hand, pull on the working yarn to adjust the loop to fit the hook.
10. Adjust to your preferred method of holding the hook and yarn. Continue to anchor the base of the loop until stitches are placed.
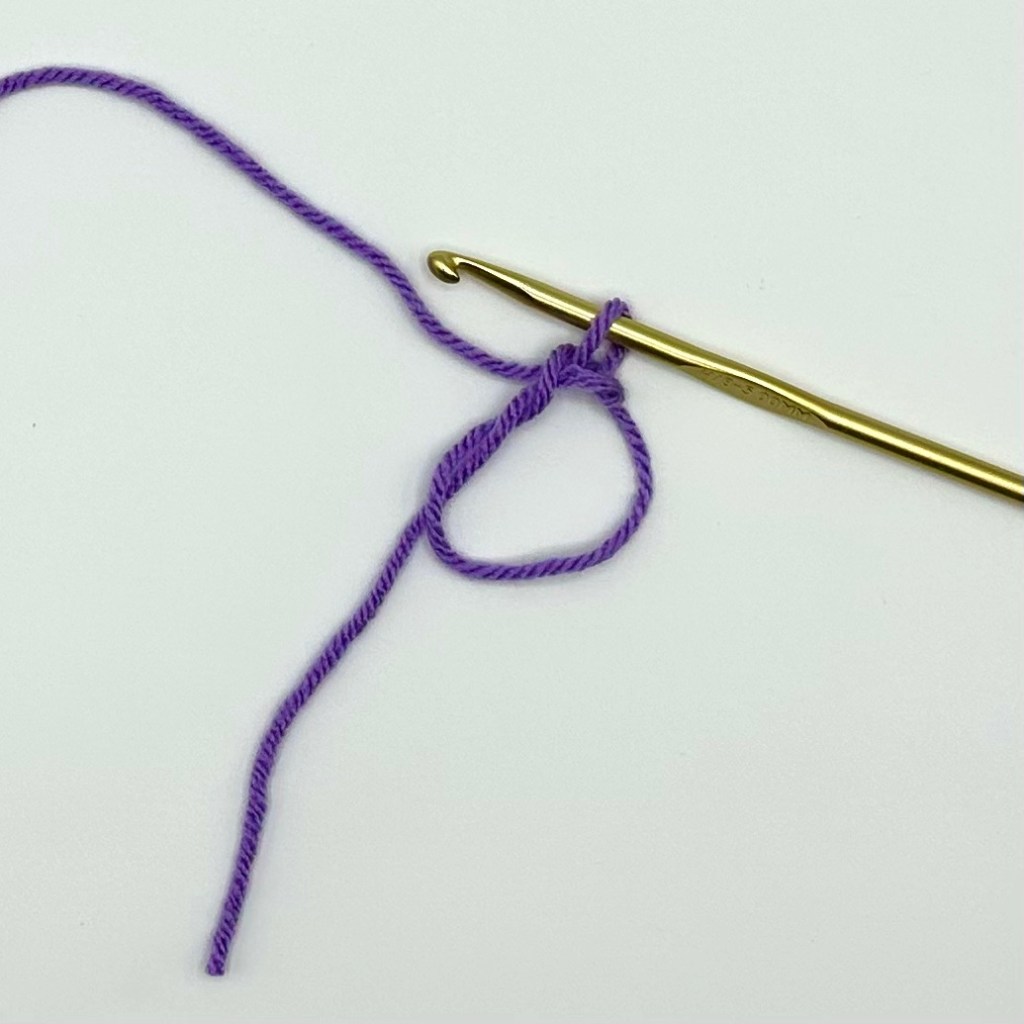
11. Chain 1.
12. Single crochet into the ring.
***Make sure to crochet over the tail end simultaneously while working the stitches into the ring.

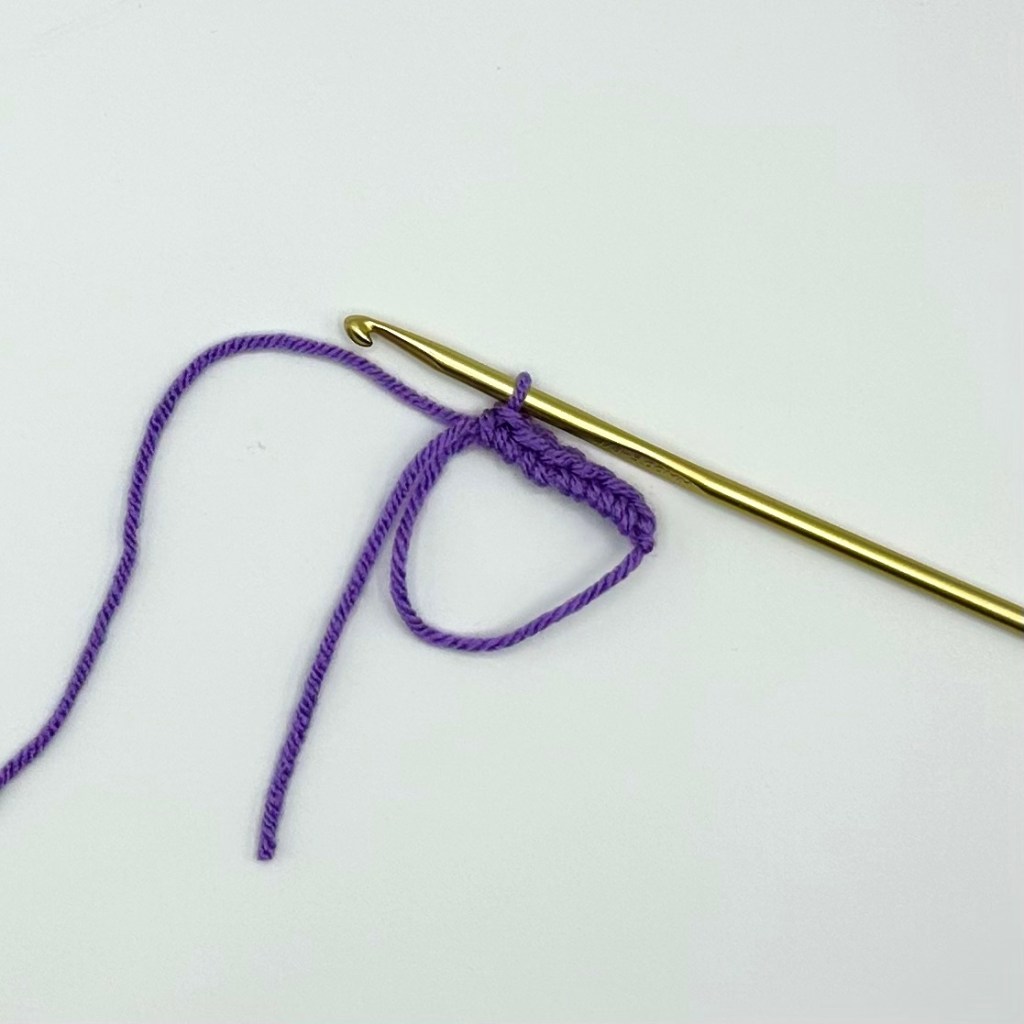
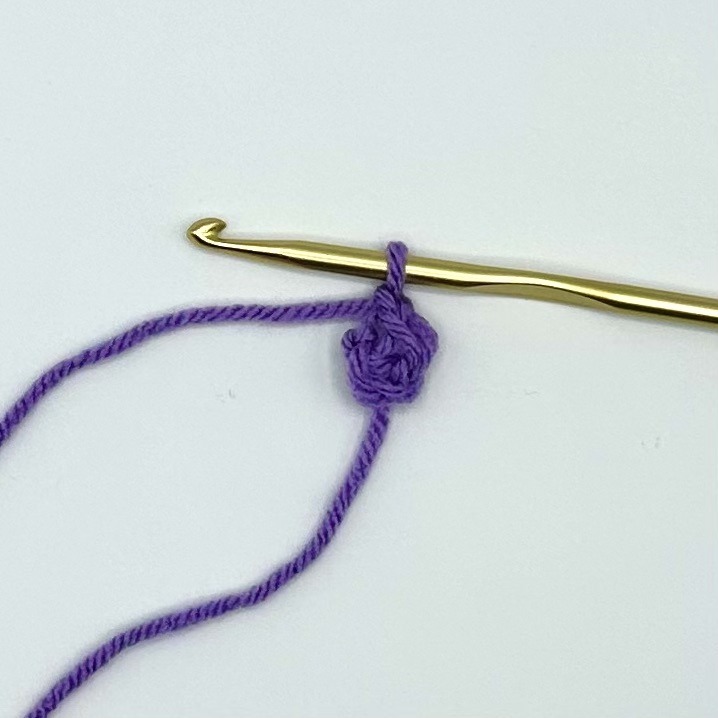
13. Place 5 more single crochet into the ring for a total of six single crochet.
***Continue to crochet over the tail end simultaneously while working the stitches into the ring.
14. Pull on the yarn end to close the center opening of the ring.
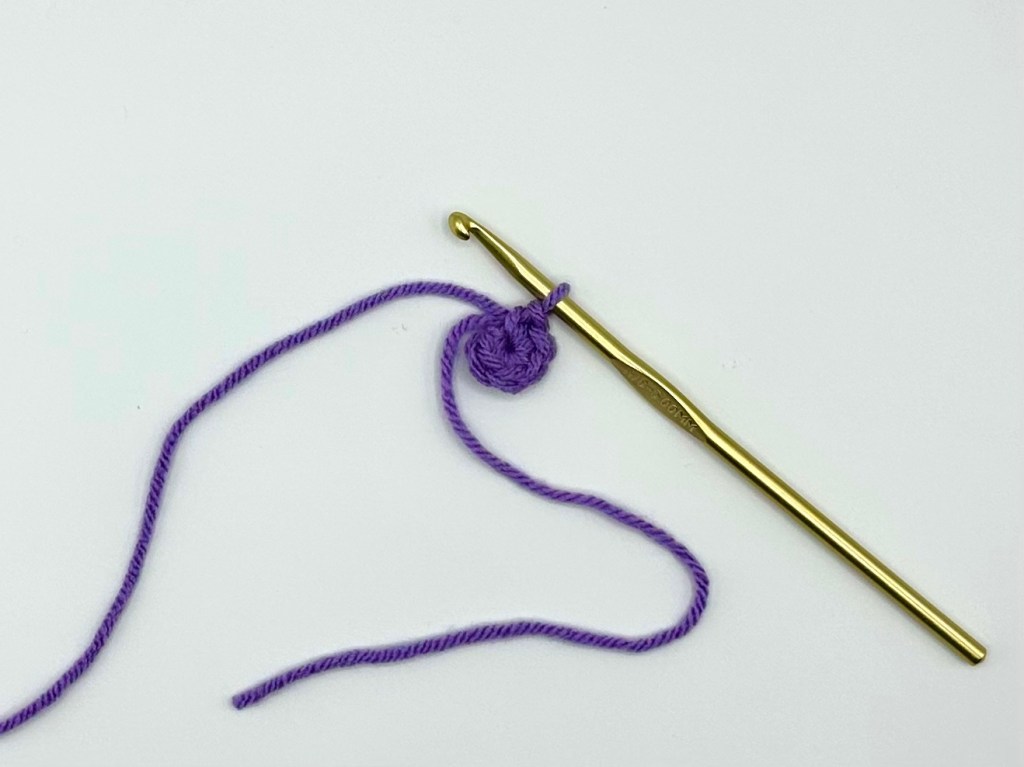
15. To close off the circle a slip stitch will be placed into the first stitch of the round. (In the image, the needle marks this placement.)
16. Slip stitch into the first single crochet to close the circle as referenced in step 15.