
A crochet slip knot is used as a starting point in the majority of crochet projects. The slip knot consists of a tail, knot and an adjustable loop. A crochet hook is inserted into the loop of the slip knot. Pulling on the tail of the slip knot will adjust its loop to fit onto the crochet hook. Below are the step-by-step instructions on how to make a crochet slip knot:
Terms used:
- working yarn: the strand of yarn coming from the skein(ball)
Step-by-Step Instructions:
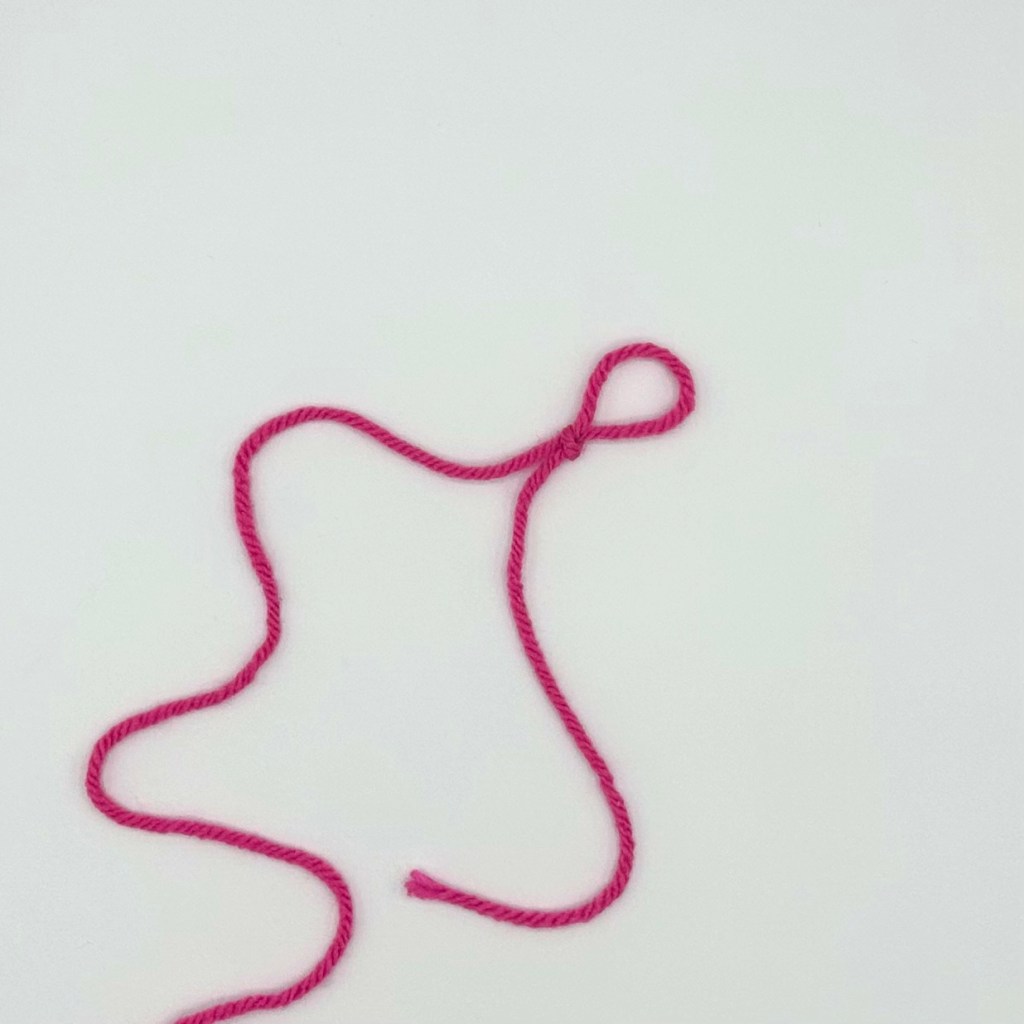
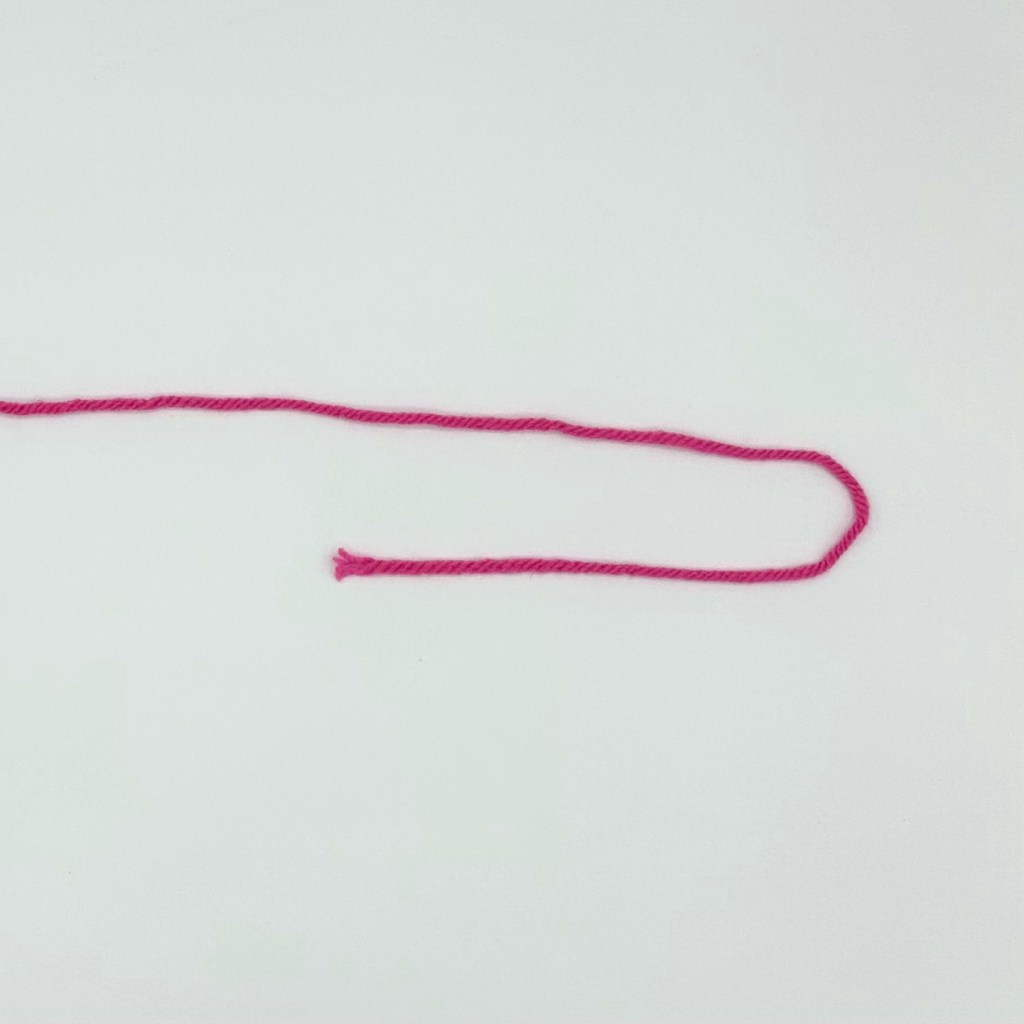
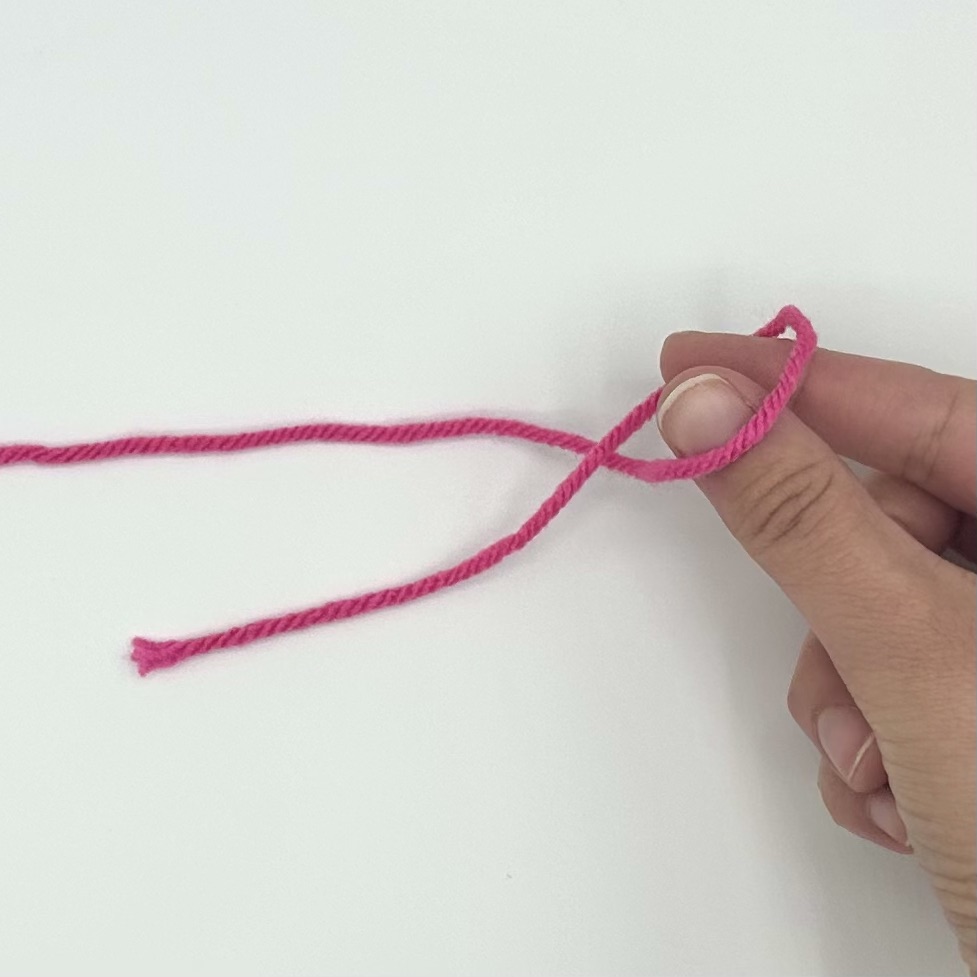
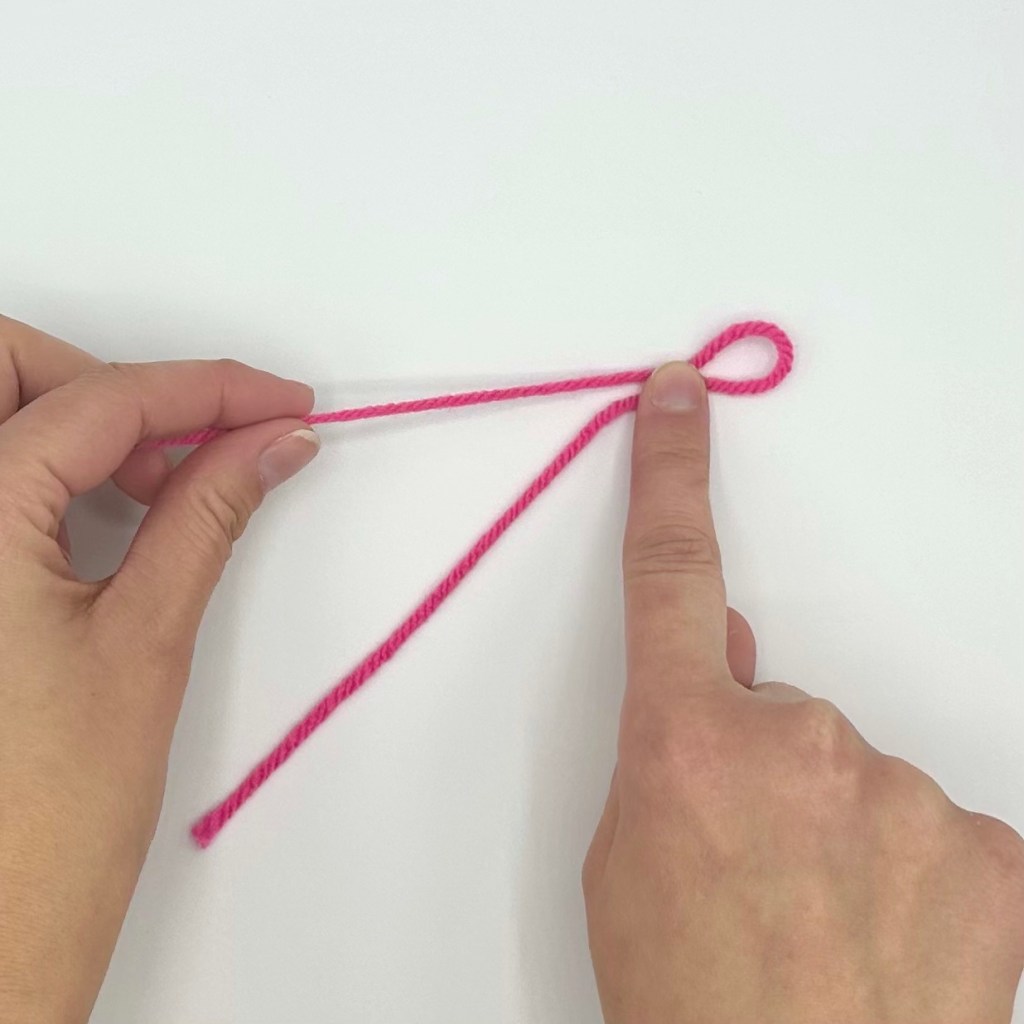
- Take the working yarn and curve it around with its end closest to you
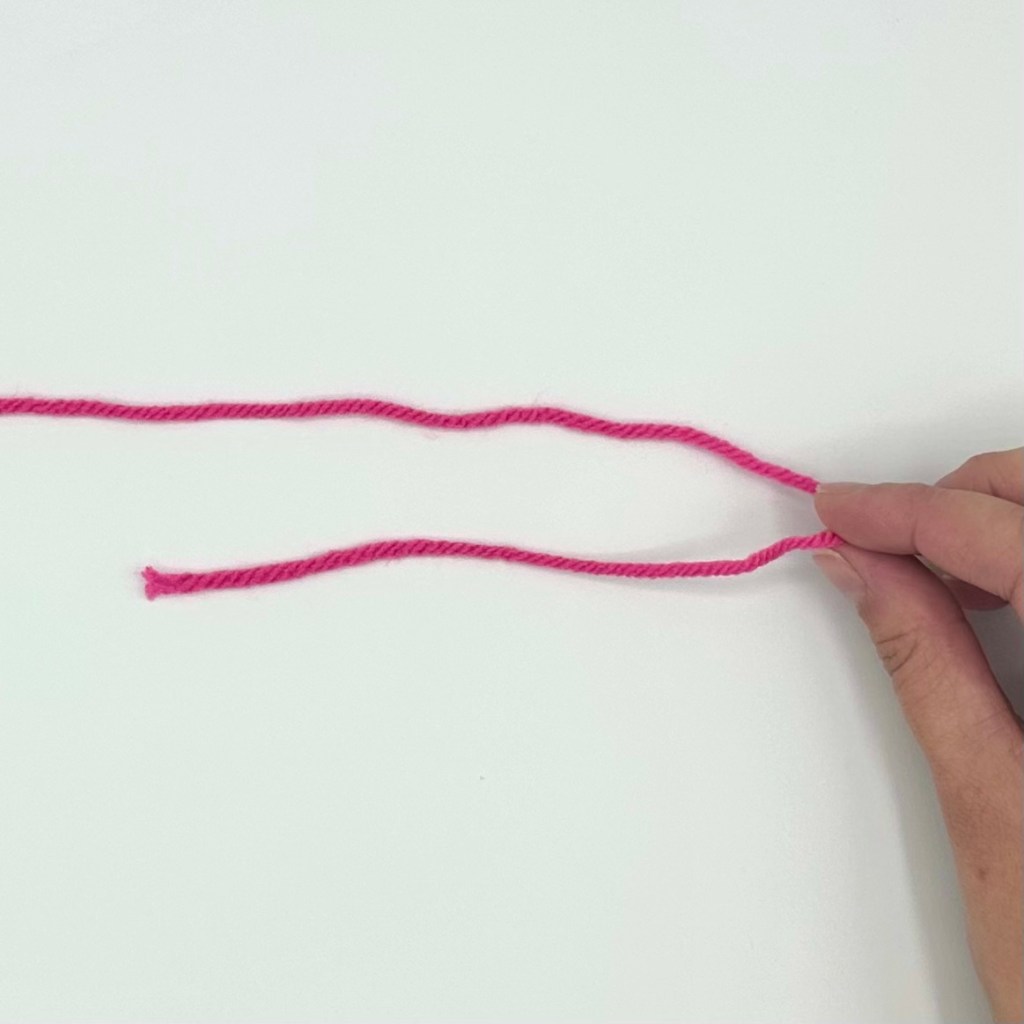
2. Using your index finger and thumb, pinch the curve of the working yarn
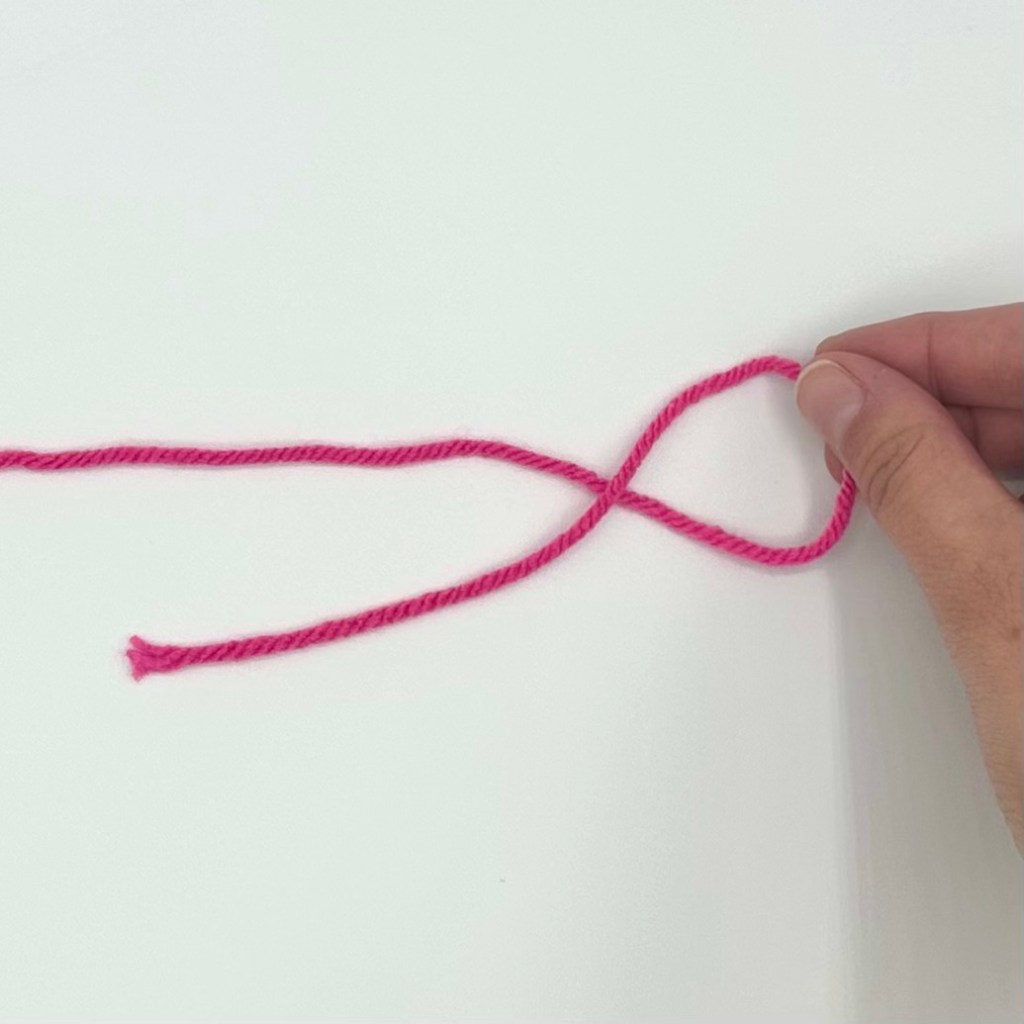
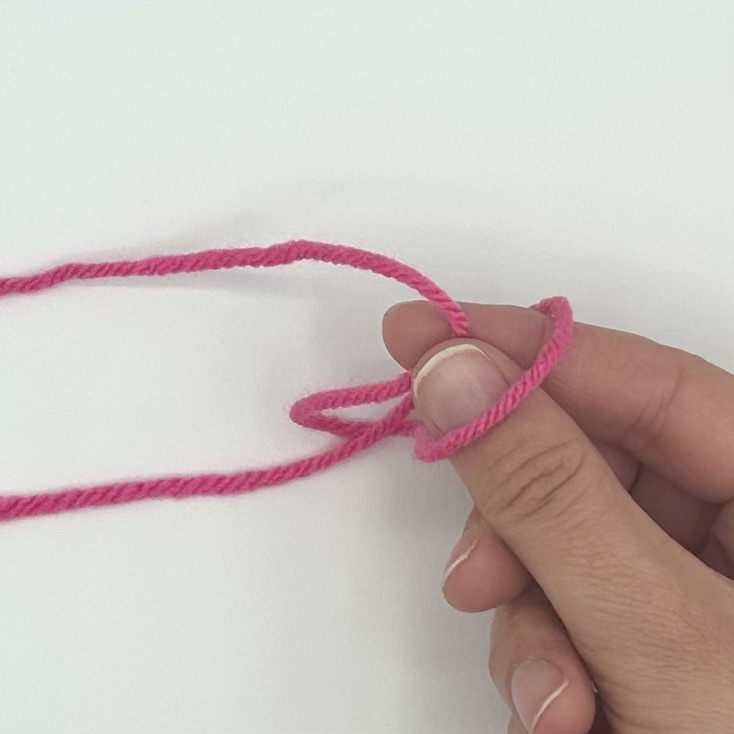
3. Twist the yarn end up and over the working yarn
4. Place your index finger and thumb under and up through the loop
5. Grab the working yarn between your index finger and thumb
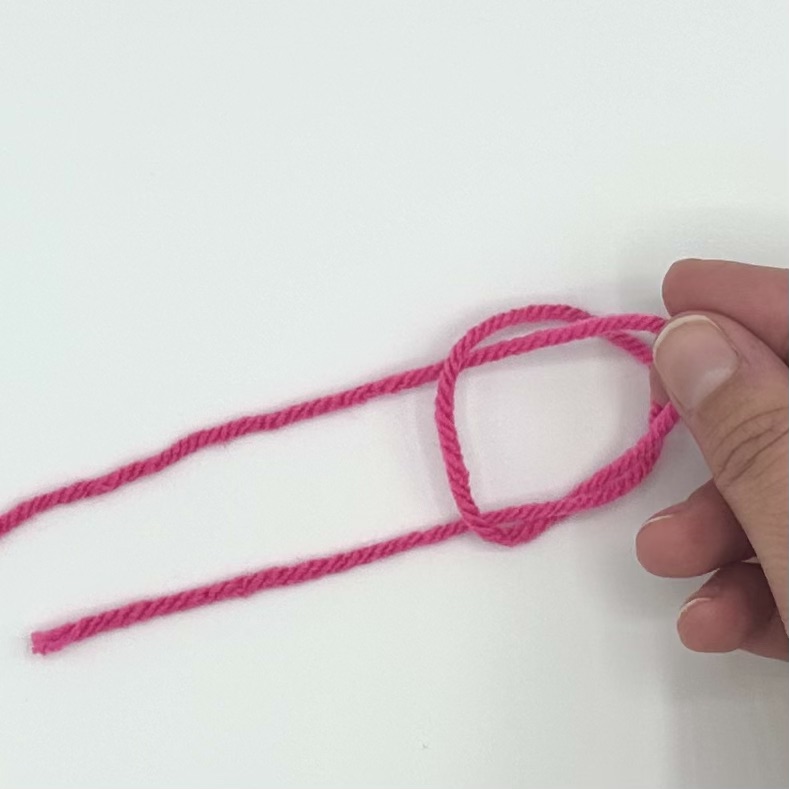
6. Pull the working yarn through the loop
7. Continue pulling by using the opposite hand to pull on the working yarn and yarn end, while simultaneously pulling on the loop.
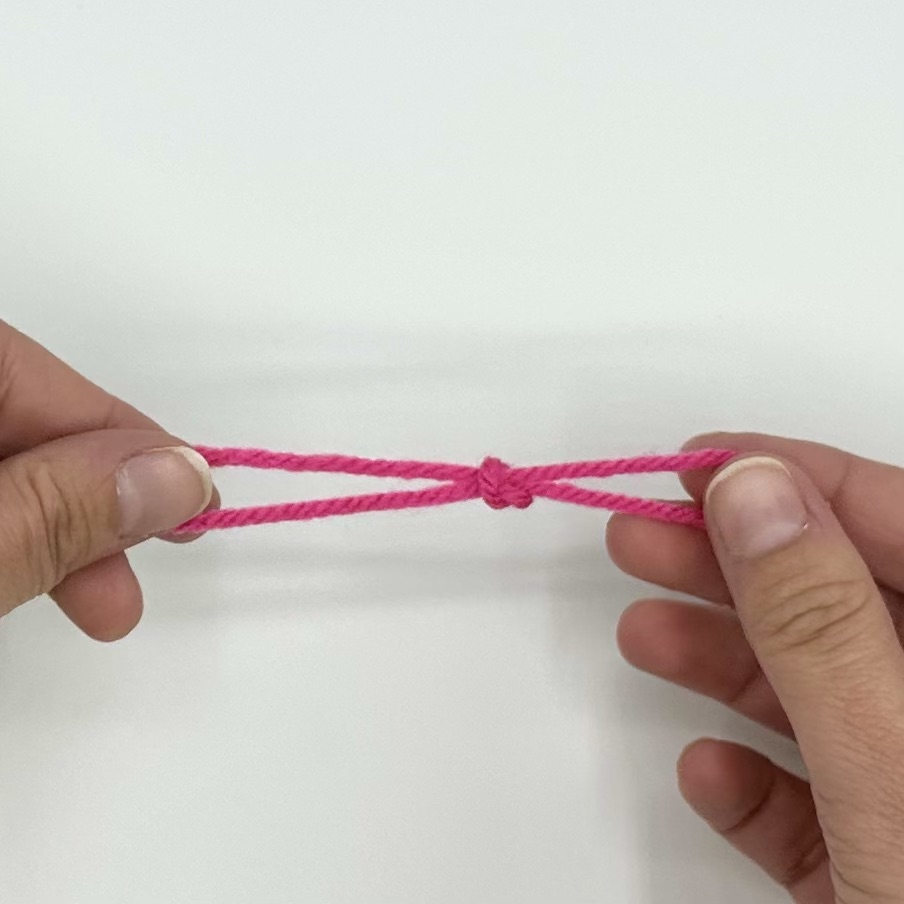
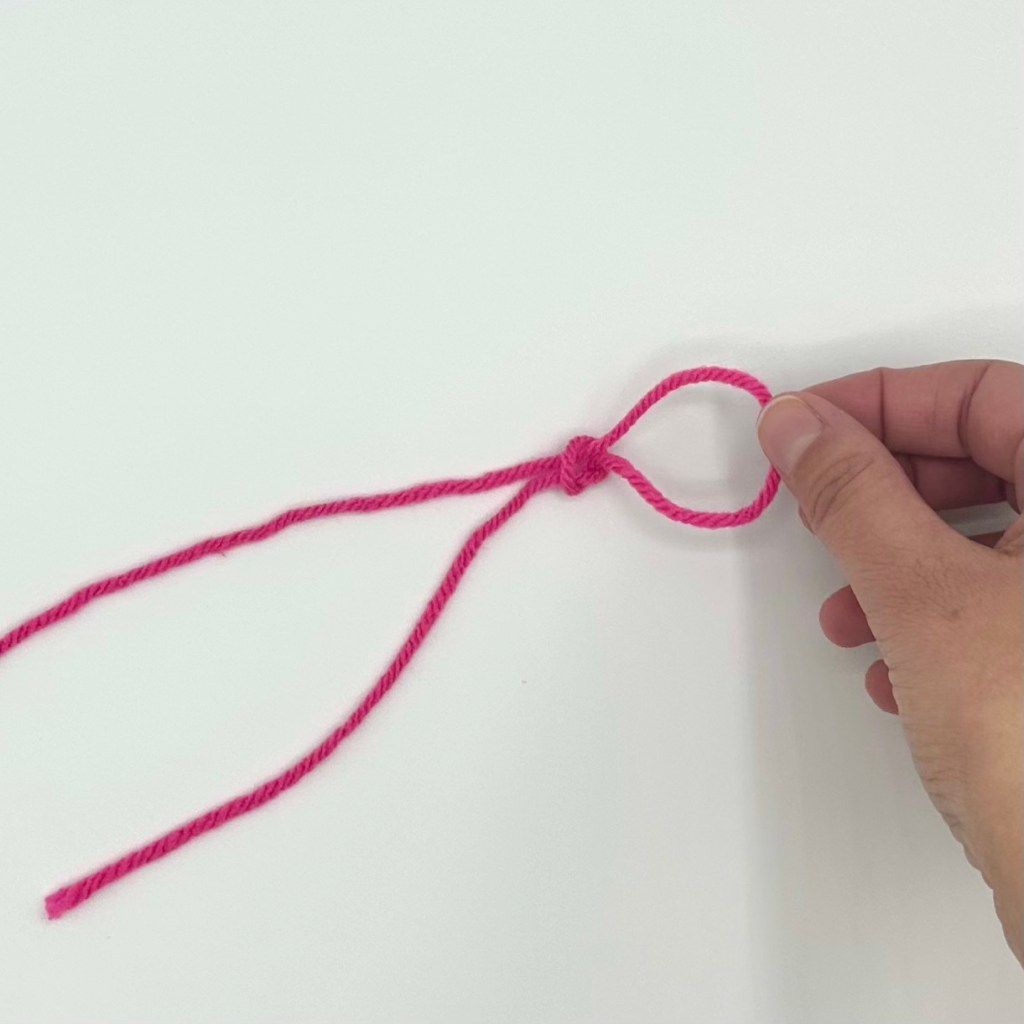
8. This completes the slip knot
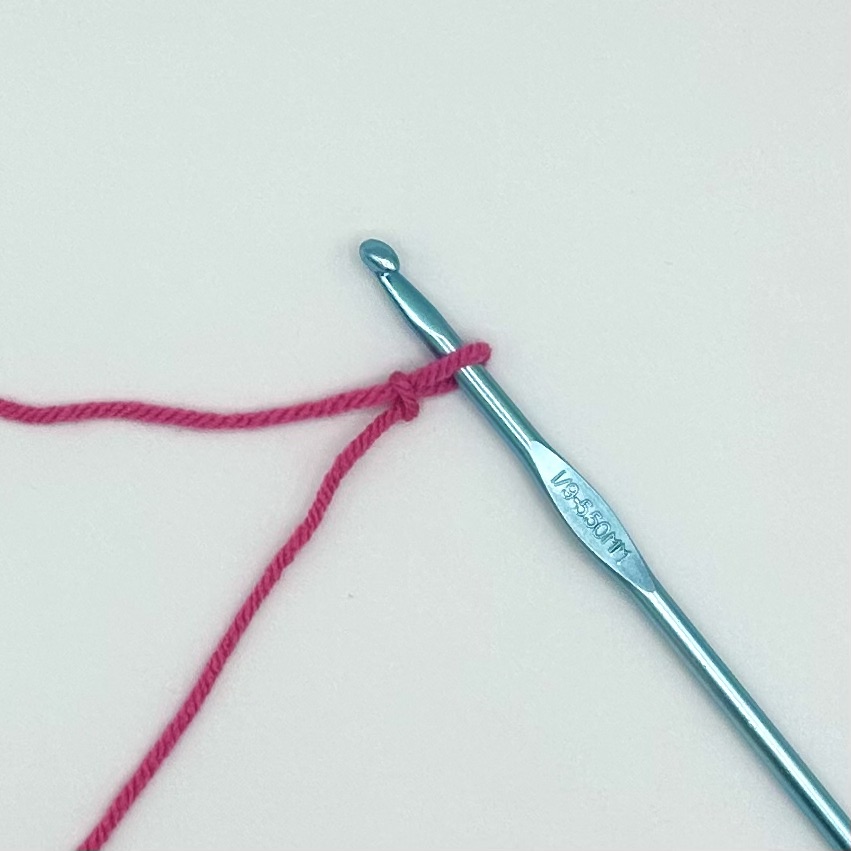
9. A crochet hook is placed into the loop of the slip knot.
Adjusting the Slip Knot:
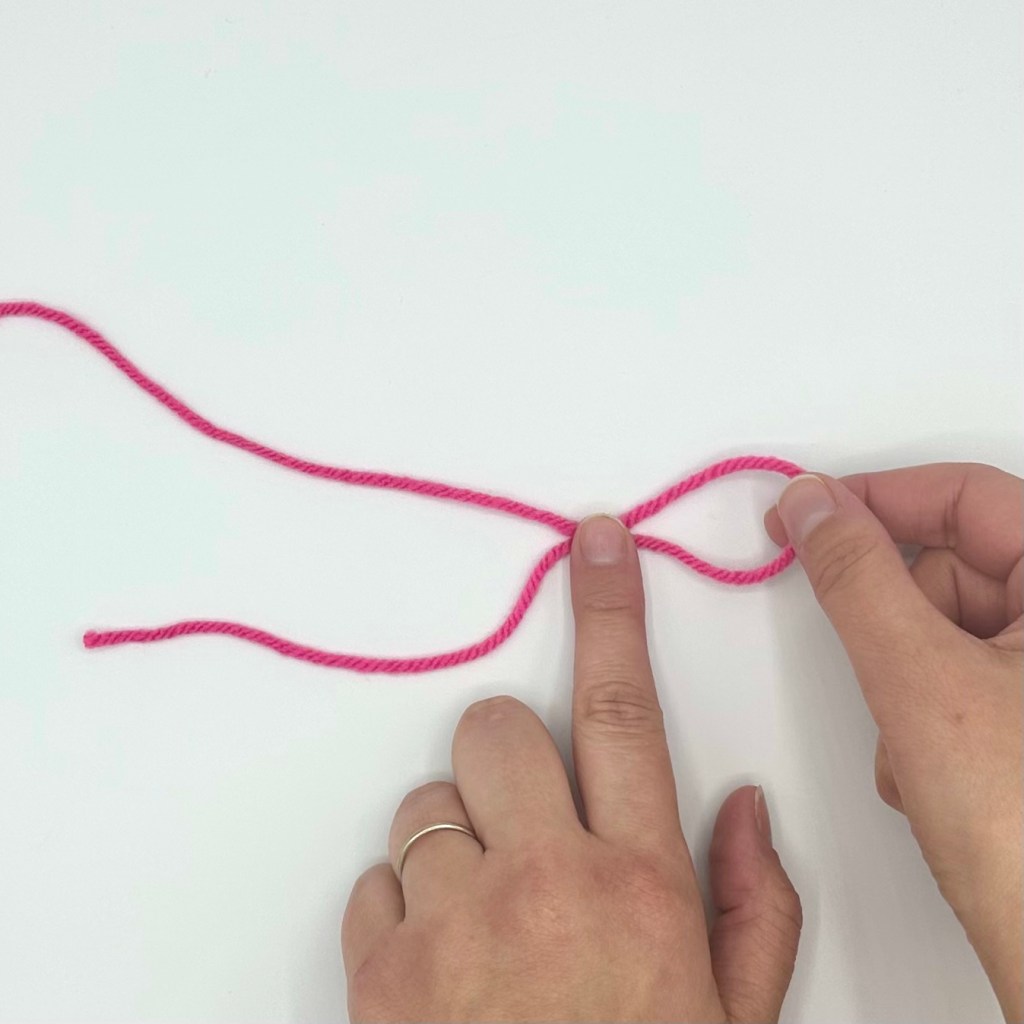
Making the loop smaller (refer to image 1):
- With your index finger, press down on the knot with just enough pressure for stability.
- With your opposite hand, pull on the working yarn
- This will allow the loop to adjust to a smaller size.
- To undo a slip knot, just continue pulling on the working yarn until it comes undone.
Making the loop larger (refer to image 2):
- With your index finger, press down on the knot with just enough pressure for stability.
- With your opposite hand, pull on the loop.
- This will allow the loop to adjust to a a larger size.

2 thoughts on “Beginner Crochet: How to Make a Slip Knot”