
A crochet chain (ch) stitch is a simple, basic stitch that is encountered often in crochet. This stitch is used as a foundation to start many crochet projects. The chain stitch can be used throughout a crochet project to start a new row/round, or part of a stitch variation. The process of making chain stitches is called, ‘chaining’. Below are the step-by-step instructions on how to crochet a chain:
Terms used:
- working yarn: the strand of yarn coming from the skein(ball)
- yarn over (yo): wrapping the yarn over the crochet hook
Step-by-Step Instructions:
- Start with a slip knot and insert a crochet hook into its loop
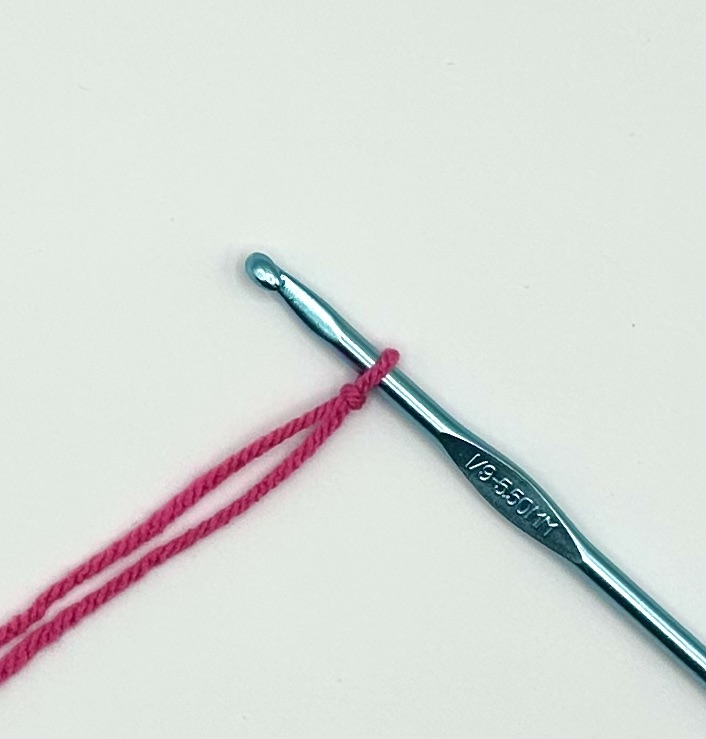
2. Turn the hook away from you
3. Hook the working yarn


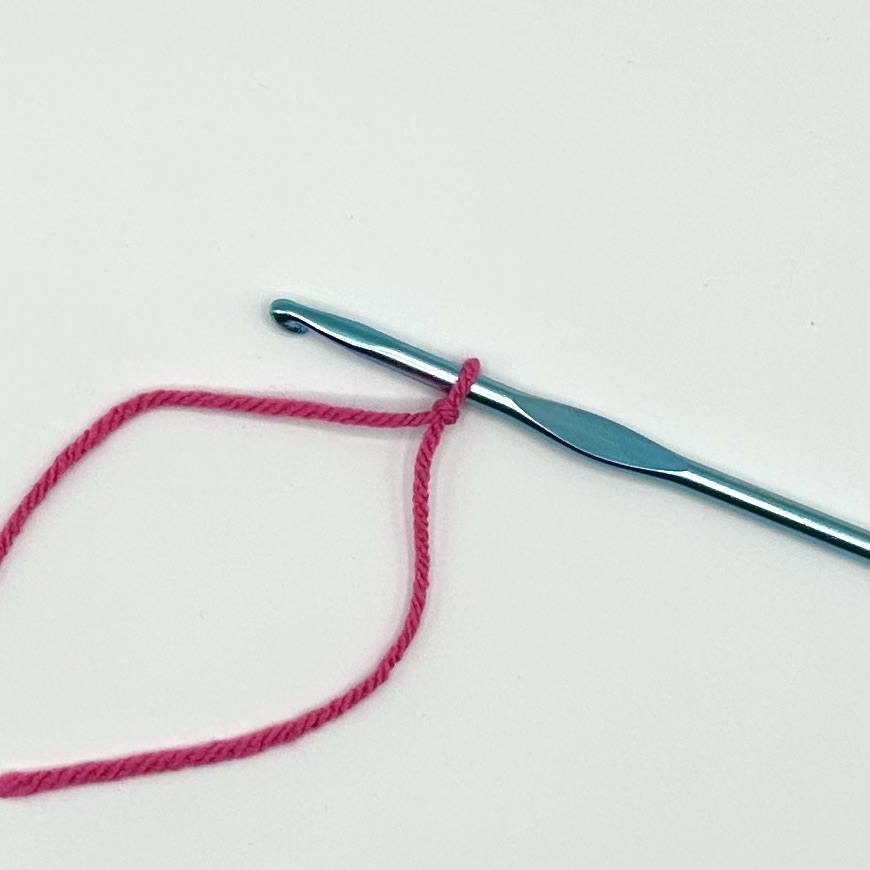
4. Yarn over
5. Pull the working yarn through the loop on the hook. One loop will remain on the hook
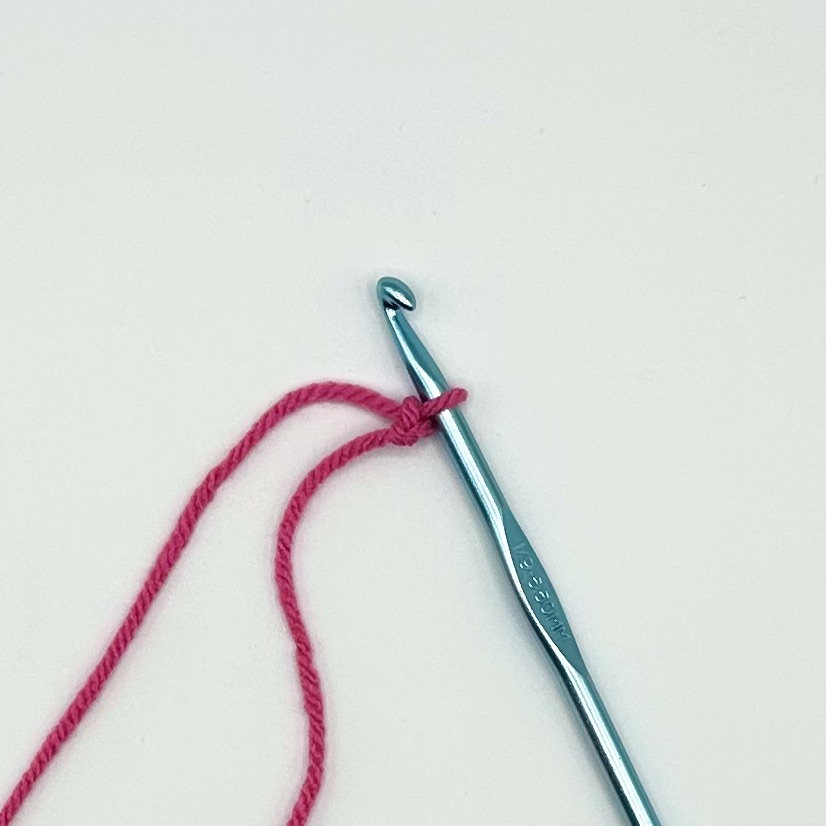
6. This completes the first crochet chain stitch. Repeat steps 1-5 until the desired number of chains is reached.
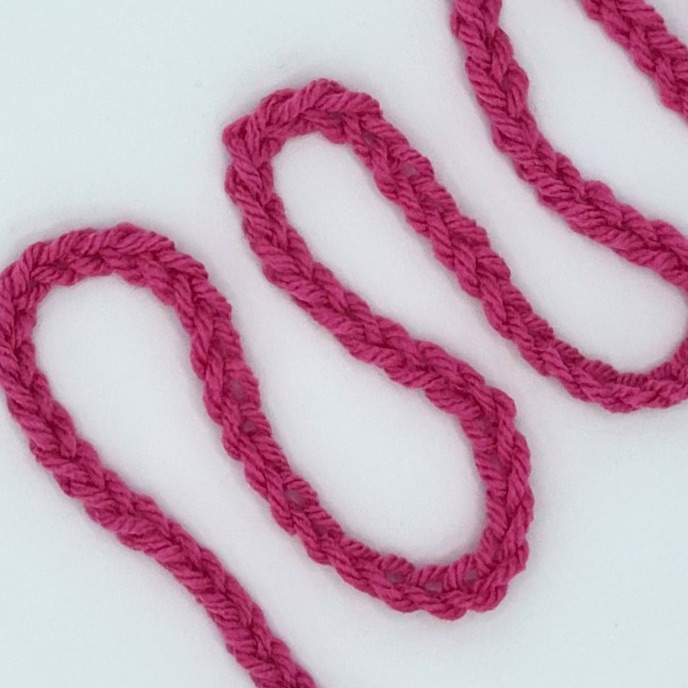
A Closer Look at the Crochet Chain Stitches:

(Refer to image 1) Each crochet chain stitch resembles the letter ‘V’, represented by the yellow ‘Vs’ in the image. The blue arrows point to each crochet chain stitch.

(Refer to image 2) The back of the crochet chain stitches have ridges, represented by the yellow lines in the image. The blue arrows point to these ridges.
